I didn’t actually start this growing season planning to buy a grow tent. I have a tiny grow room that I normally use in preparation for spring planting.
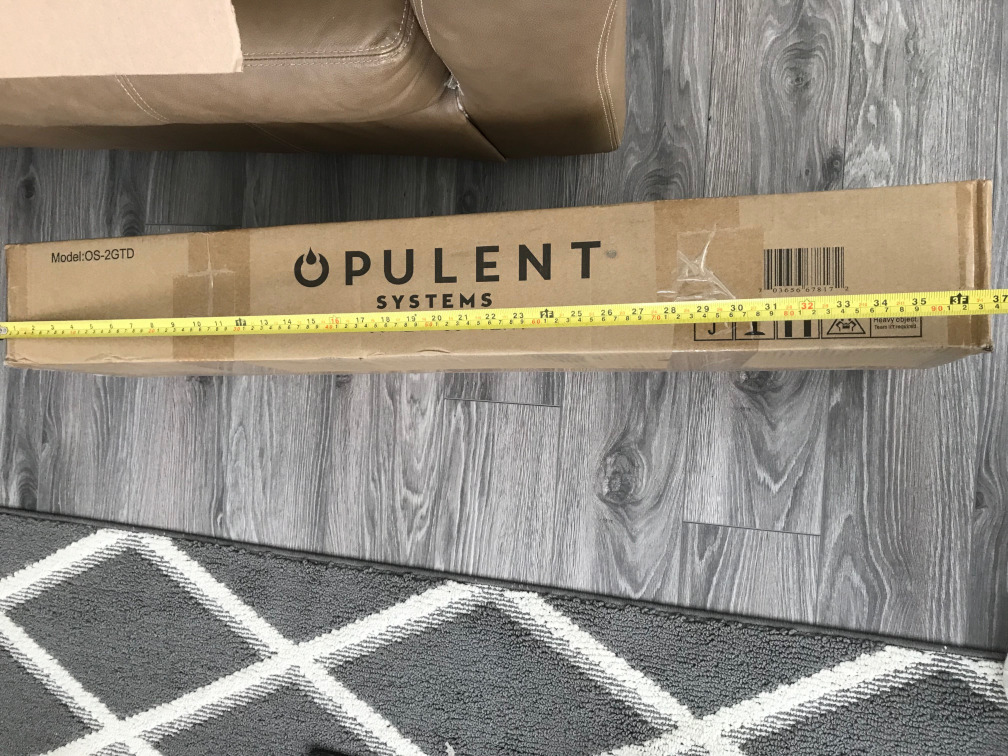
That said, I recently came cross a grow tent at a discounted price that was too good to pass up: the Opulent Systems 2-in-1 36″x24″x53″ grow tent.
Of note, there are some other brands that sell a similar tent (the uncommon 53 inch height on a 3×2 foot tent is a giveaway if looking around), and this one appears to be nearly identical to the popular Vivosun variant. It also appears to be similar to the Yintatech and Outsunny versions, with the difference being that they seem to have different ventilation ports.
Assuming this is a tent you’re considering, I’ll try to lay out some details below.
The Boring Bits – packaging/unboxing/instructions
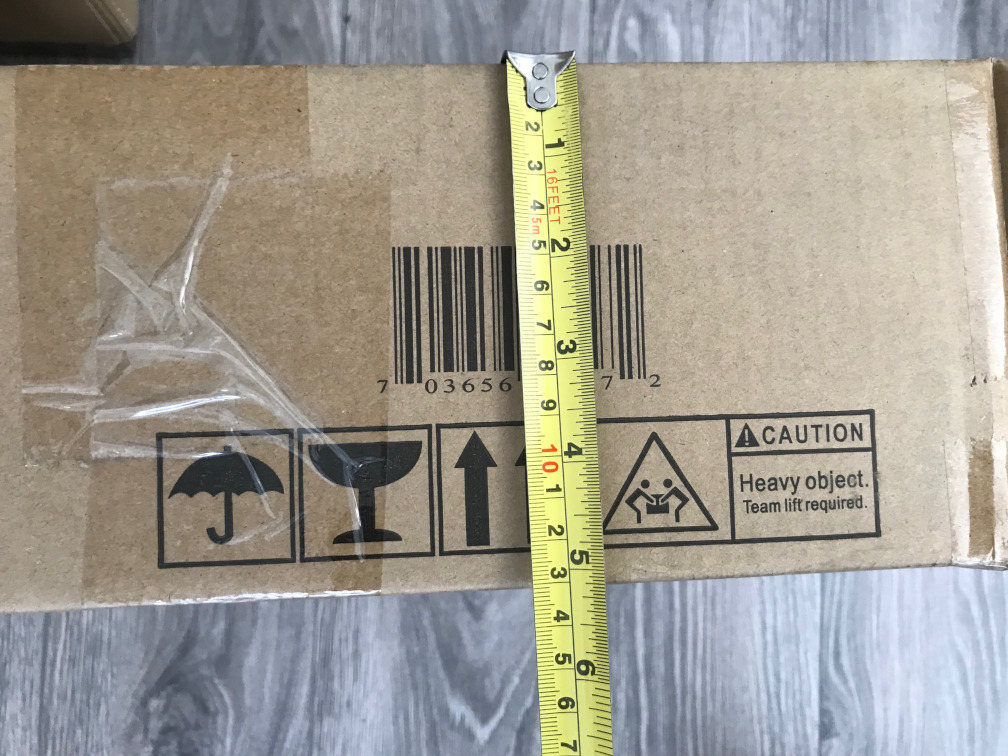
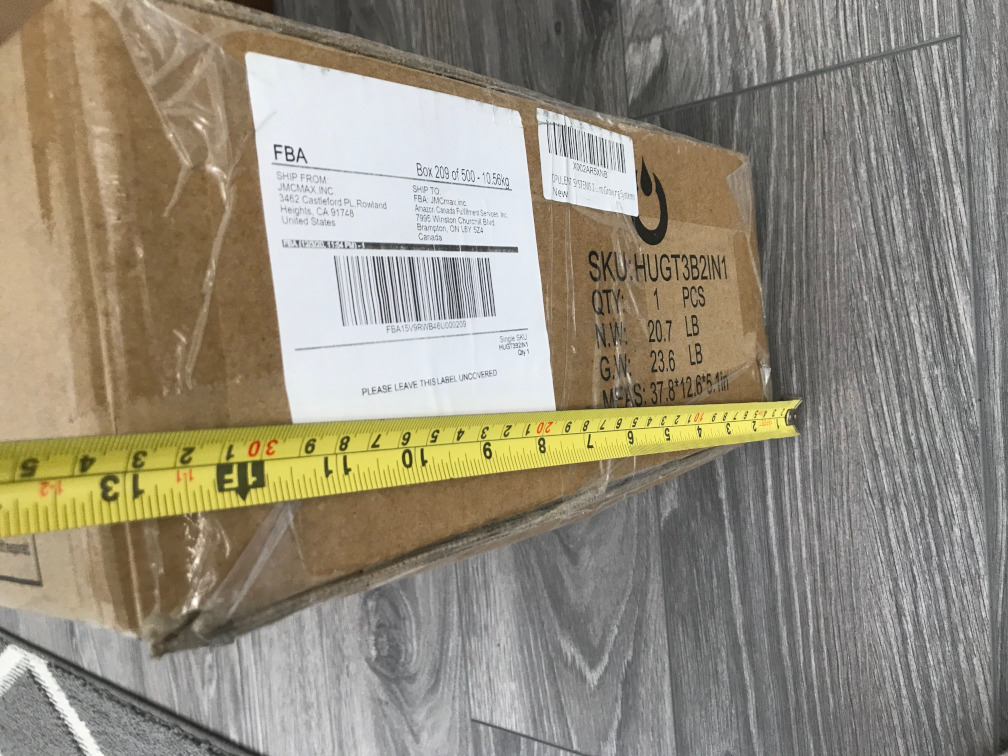
You can click the images for closer detail, but package dimensions are about 37x5x13 inches or 94x13x33 cm. It’s listed at about 23lbs (10.5kg), though I didn’t verify the weight. Most shipping carriers will handle these dimensions/weight without issue.
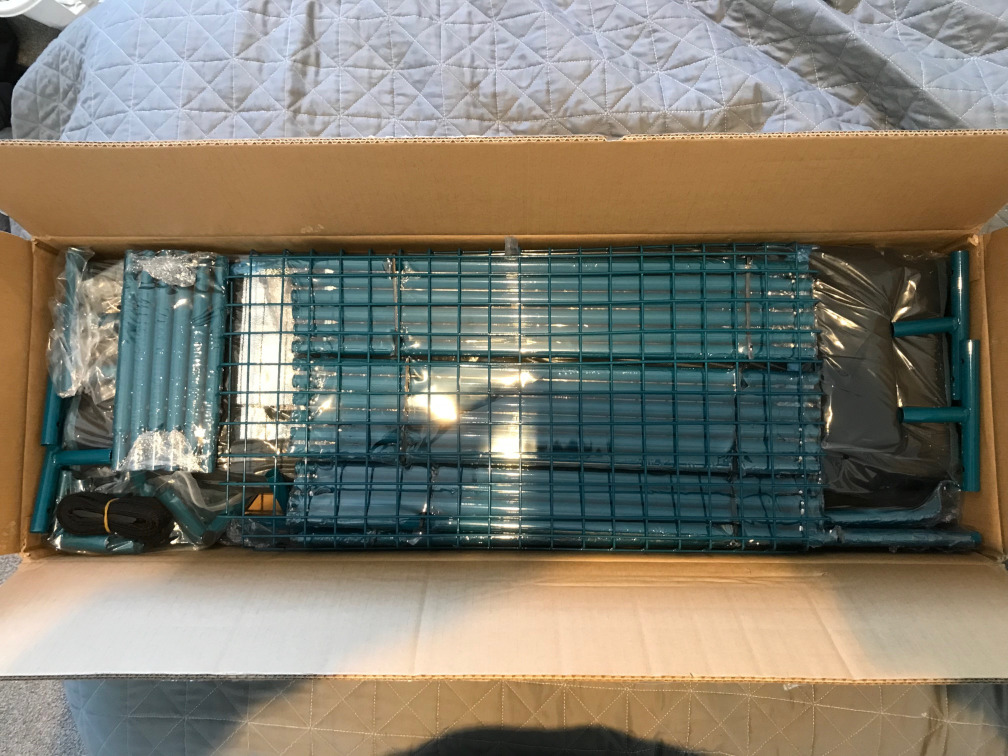
Opening it up, everything was packed in fairly tightly.
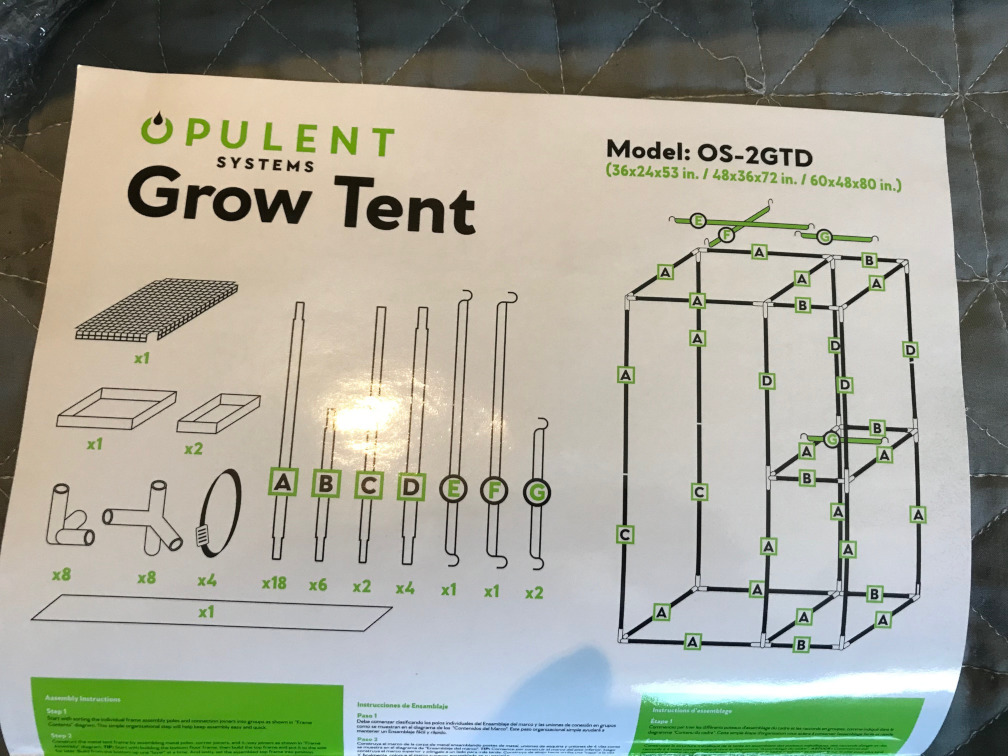
I included pictures of the instruction manual (just a sheet) in case someone picks up a used unit and got here hoping to figure out how to put the thing together. The “A” poles didn’t have labels, but the other poles did. However, if you’re missing labels just sort by similar poles – they have different total numbers (18xA, 6xB, 2xC, 4xD) that you can match up to the instruction sheet.
Assembly
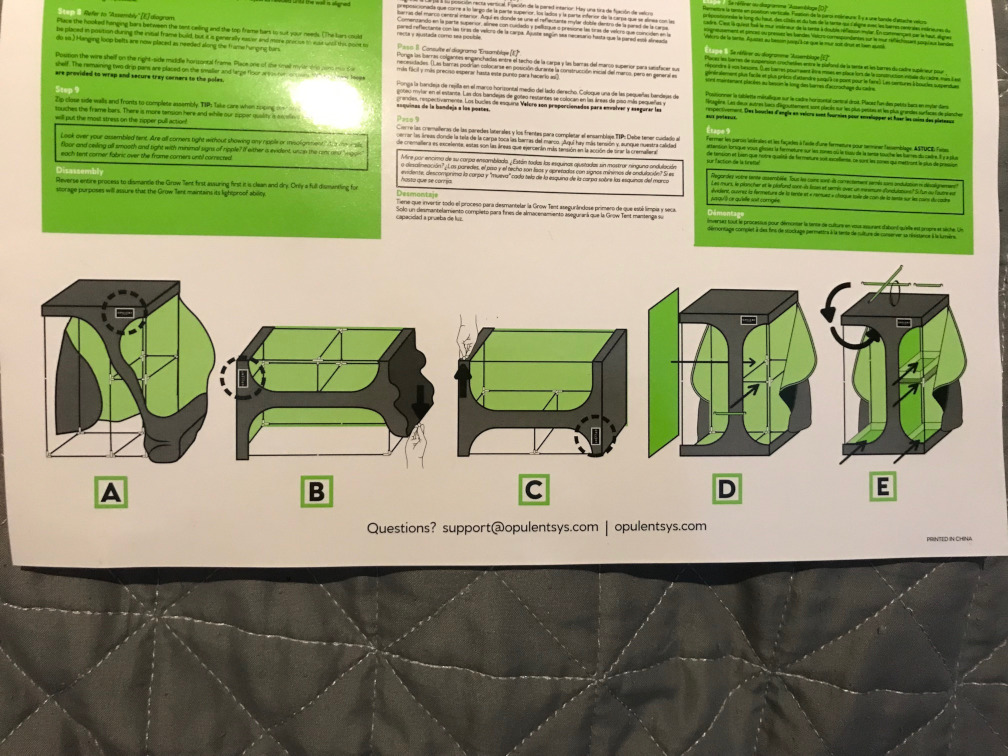
The instruction guide above really covers most of it.
The major “trick” here is to avoid trying to put the entire thing together 1 pole at a time – if you attempt to do so you’ll find yourself trying to bend poles to get them into every 4th/6th corner piece. Instead, you want to assemble “sections” and slide them together.
The other bit to watch for are corner pieces that have both 2-hole and 1-hole legs. If it looks like your pole alignment pegs aren’t matching up, before you conclude that an alignment hole has been mis-drilled, check to see if the corner piece can be oriented differently. With that said, the alignment pegs on a couple bars were *slightly* misaligned, requiring the pole to be twisted a little – had they been any further out of alignment I’d have just widened the holes with a drill or file.

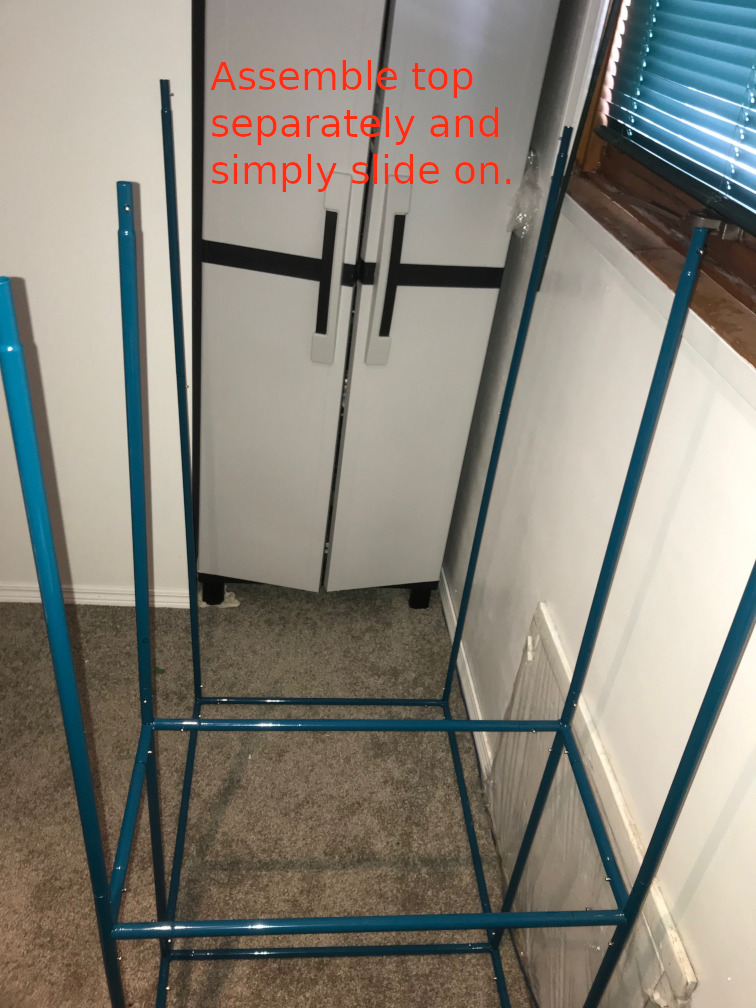
Doing assembly by myself, the most time-consuming bits were putting on the top (aligning all 6 bars at once), and putting the material on the frame. A helper would have made both of these trivial.

When it comes to the adjustable “hanger” bars, E/F are the same length if you want them parallel. On the right side, you don’t really need a G bar in the bottom-right compartment since the metal grid-shelf is pretty sturdy and you can wire just about any grow light to it, so feel free to have 2 top bars if you’d prefer.
If you need to put the tent in a fairly tight space, dimensions of my tent are about 53.5″ height, 36.25″ width, 24.25″ depth – it would fit in such a space without the need for too much coaxing. Jamming it in by force, I could probably shave off a quarter inch. I *might* be able to shave half an inch off each dimension. I doubt I could go much further than that.
As a final note, the material does have some sort of chemical smell to it which largely started to dissipate within 12 hours with airflow – these smells rarely bother me and this is no exception. However, if you’re sensitive to these things you may want to open it up and air it out beforehand.
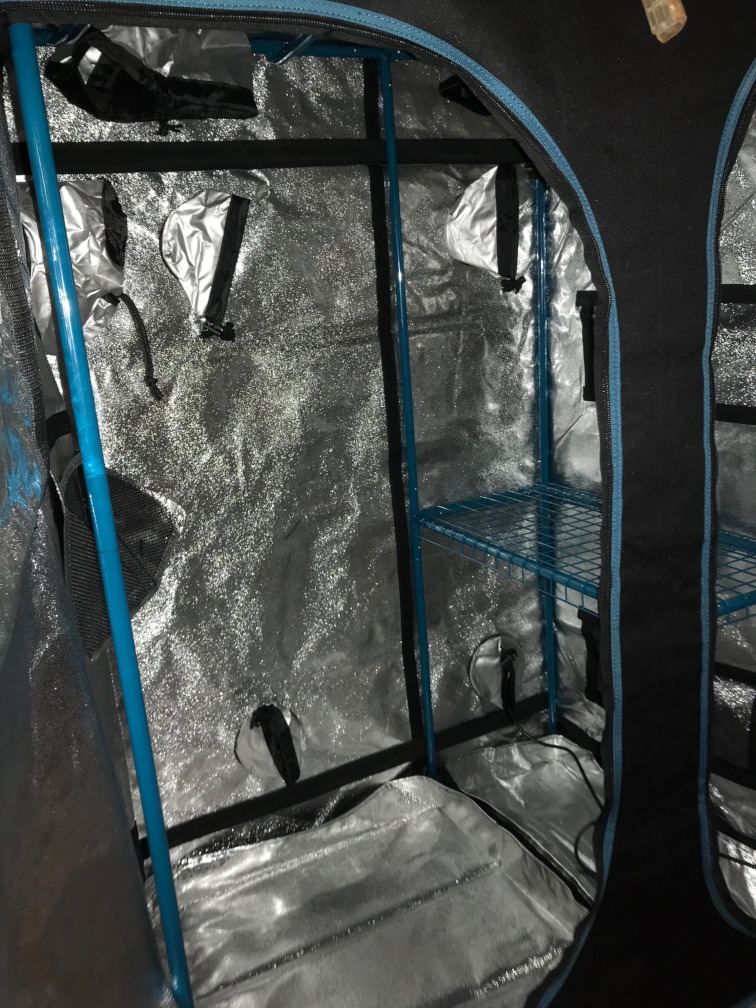
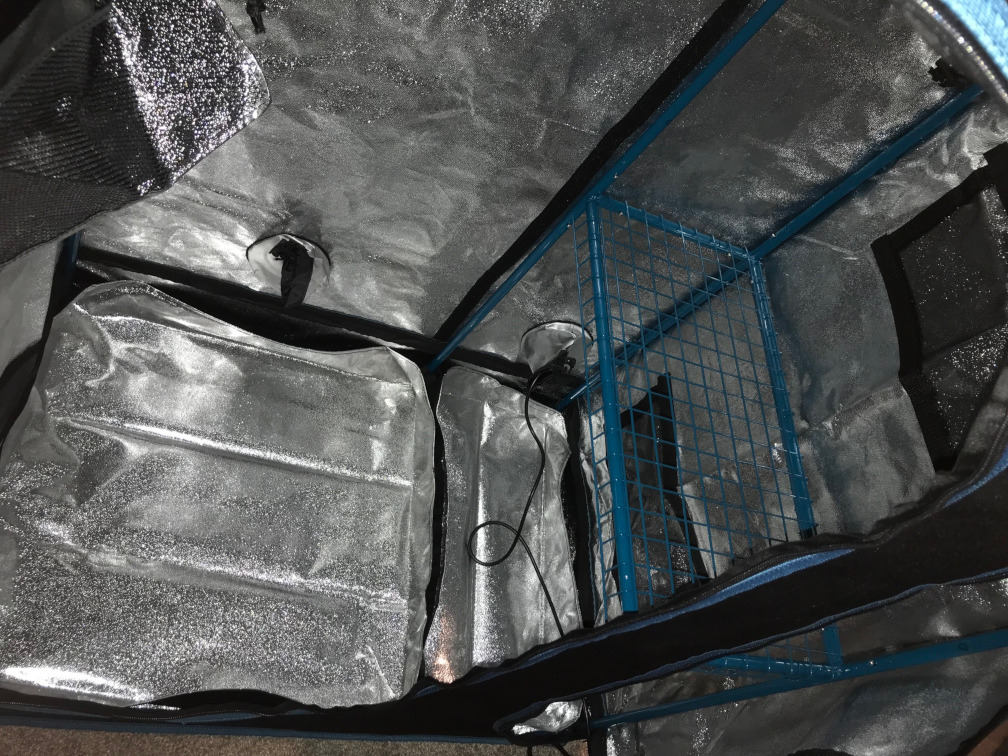
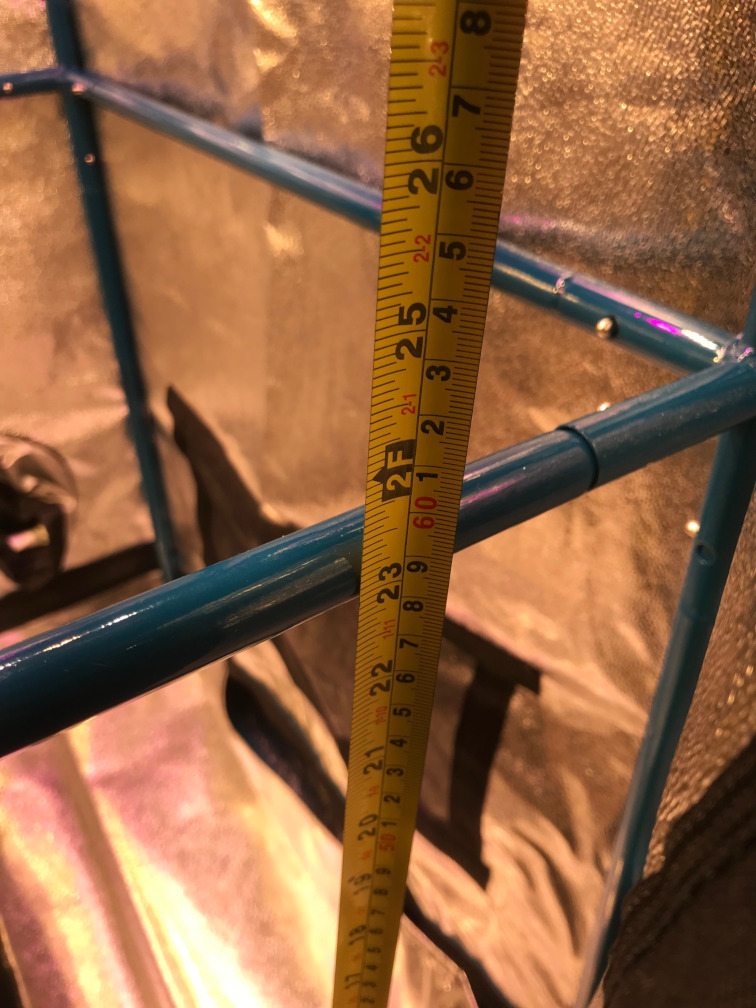
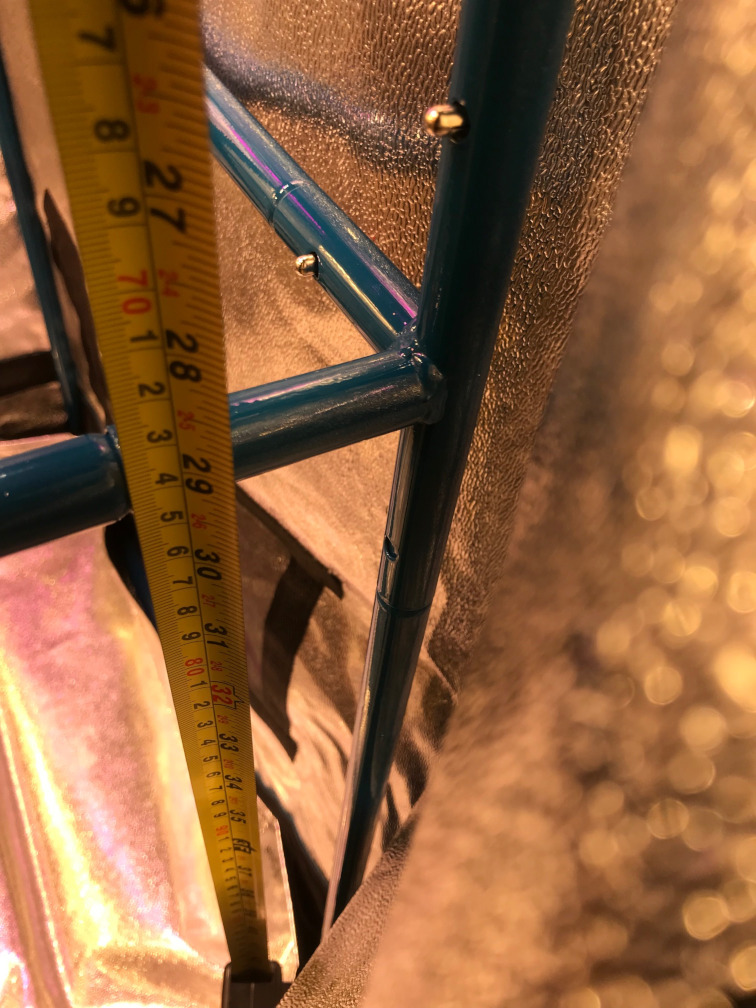
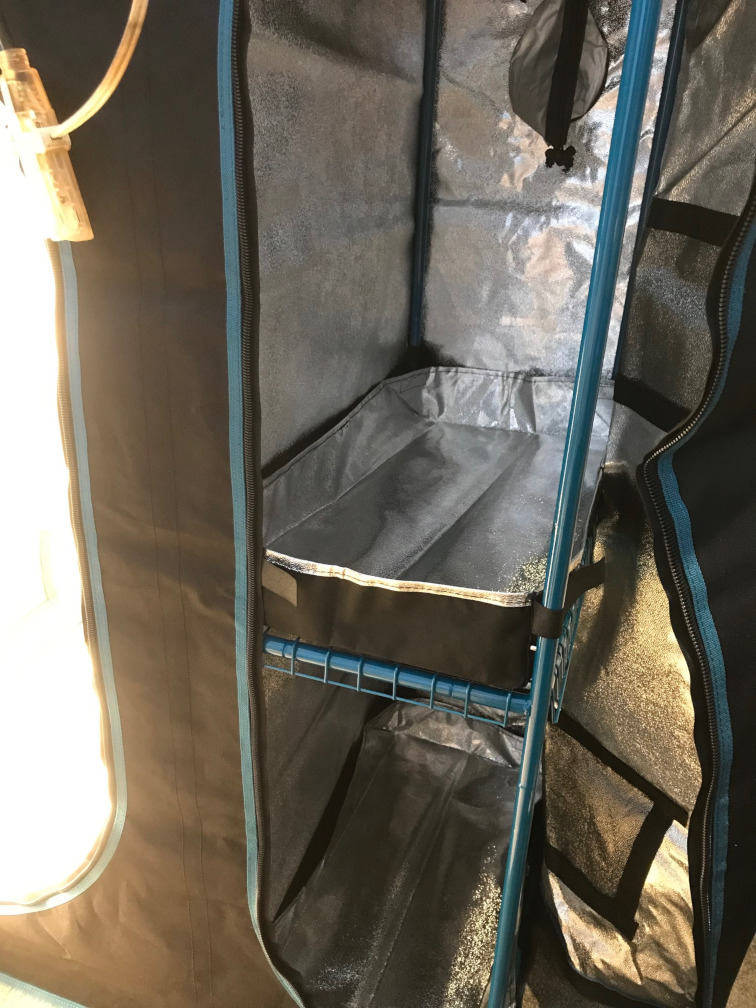
The 2 Right-Side Sections
The top section has about 28″ of space. The bottom is shorter at about 22″ or so.
If you’d rather just use the entire space, you can simply omit or remove the metal grid-basket (it just lifts out).
If you plan to occupy both spaces and are shopping for grow lights, consider both the height of the lights and the intensity: if they’re too strong for your plants or don’t have a wide enough spread, you won’t have much room to raise them.
The Optional Divider
Instead of using the tent as a 3×2 foot, you can install the optional divider to split it into a separate 2×2 and 1×2 foot compartment. There are a number of scenarios where this can be useful, but here are a few common ones:
- Light cycle control. Some plants such as onions will bulb early if they get too many hours of “daylight”, and depending on the variety you might only want to give them 11 or 12 hours of light. However, many other plants do well with 16-24 hours of light. Separate compartments allow you to tackle both.
- Light intensity control. Tomatoes and Peppers can handle a lot of strong light. Leafy greens don’t need as much. If you’re rooting cuttings, strong light can kill them before they root.
- Temperature control. Example: White Spruce prefer temps of about 18C, whereas Norway Spruce do well under 24C. Use the compartments to grow both, and use separate duct fans in each compartment to get your ideal temperature for each variety.
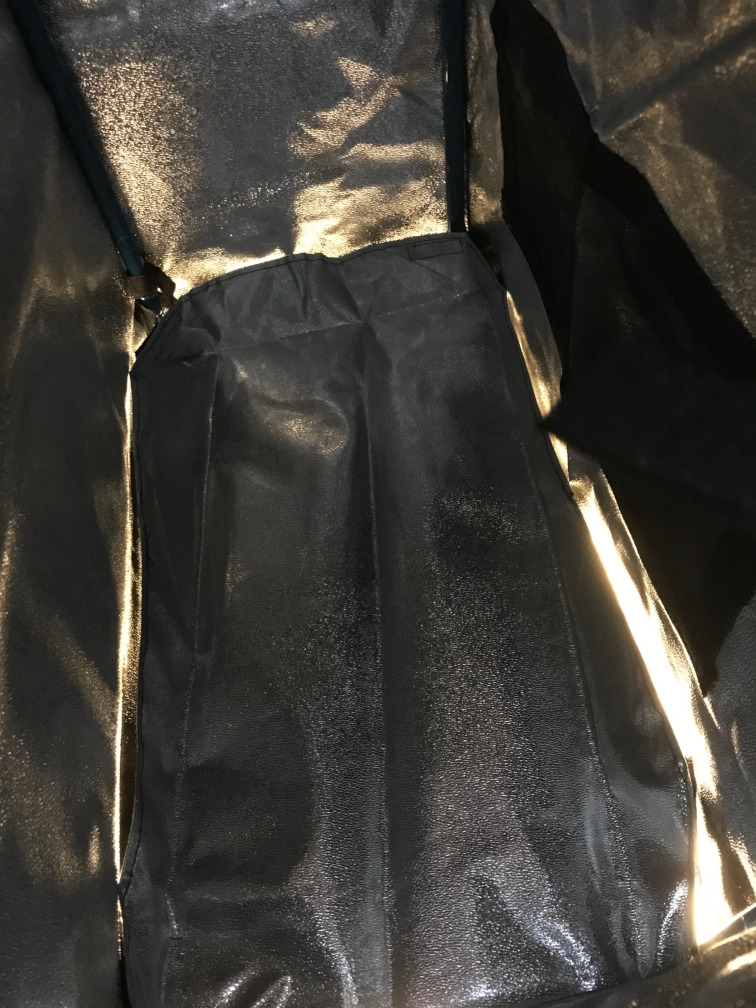
The divider simply velcros in place: it additionally has a few velcro hoops that wrap around the poles to help support it. The big challenge is lining the velcro up while attaching it so that it seals perfectly. To get the velcro nice and tight against the rear strip on the tent, you may want a helper to push from the outside while you push from the inside: it can be done solo by unzipping the door to the velcro point and reaching your arms around, but it’s not fun.
Keep in mind that unless you’re under 53″ tall, you’re going to be crouched in the tent with all that reflective mylar keeping you toasty warm.
The good news is that if you get the velcro attached really well, very little light makes it between the left/right chambers: certainly not enough in my case for most plants to have their night cycle interrupted. The top corners were the only area where a slight bit of light was making it through (the “trays” seemed to prevent light leakage at the bottom corners). You could feasibly use some sort of tape if you needed a *perfect* light seal.
The bad news is that your only light separation is going to be the left/right separation. On the right-side chamber, there is a lot of light bleed between top/bottom. Even if you managed to solve it (reliably sealing the tray to both the interior and the door), you’d create a new problem: the bottom chamber only has 1 vent port, so if you’ve entirely sealed it off, air exchange must now be tackled.
Summary: The left/right separation is pretty good when it comes to light cycle, light intensity, and temperature control, though you should certainly test and tweak if need be. On the right side, attempting top/bottom separation is probably only going to be useful for differing light intensity.
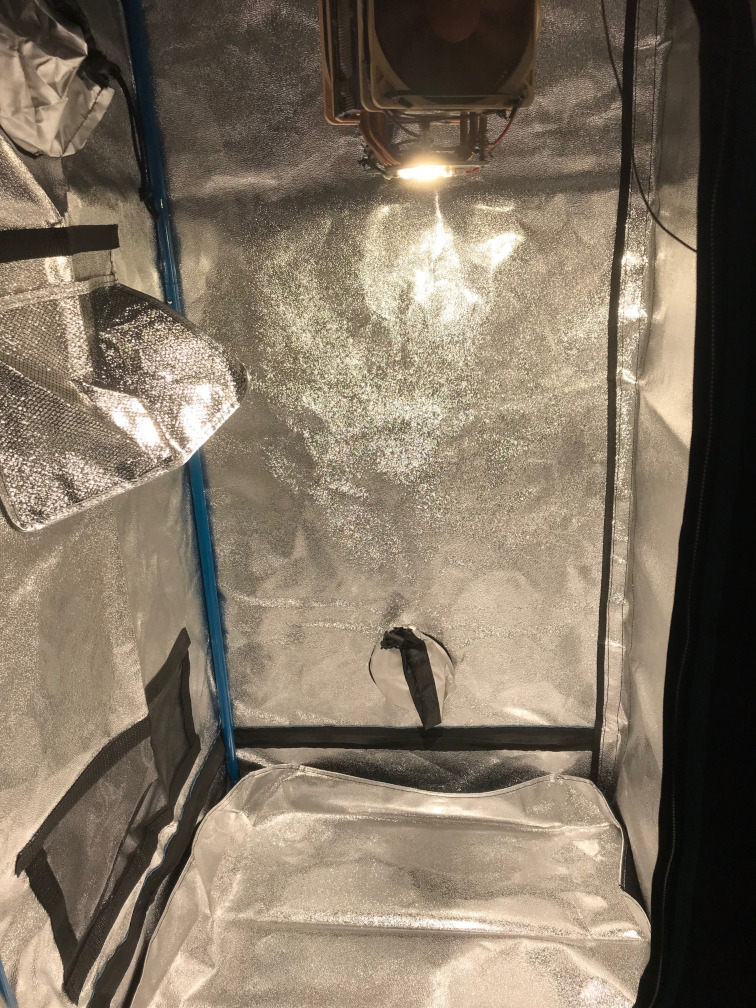
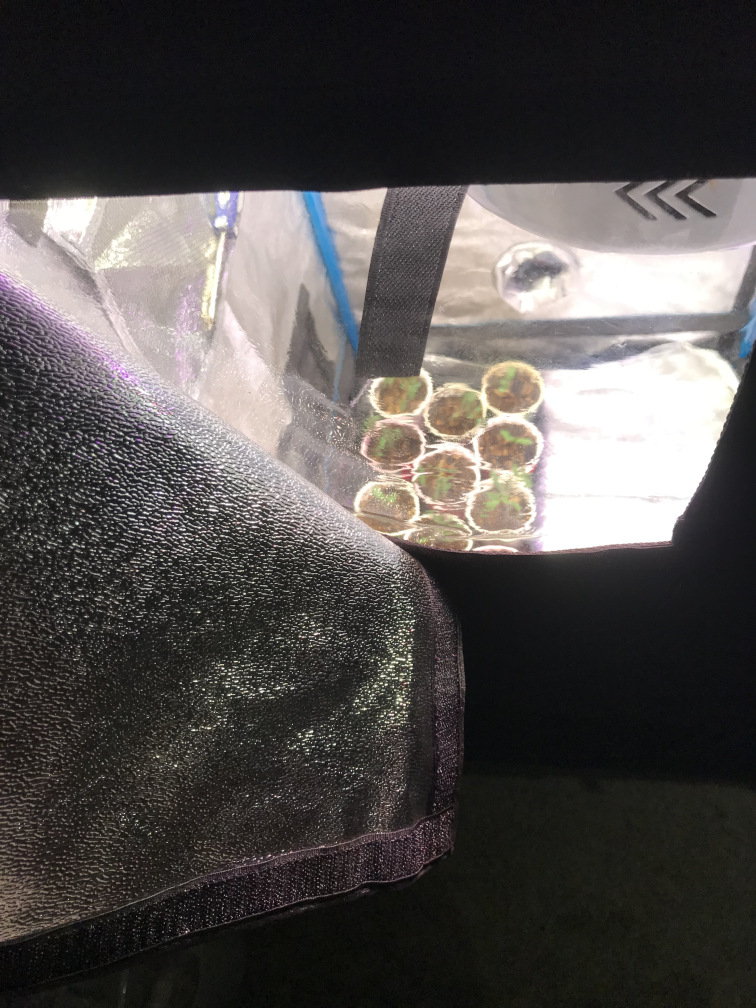
Light Leakage
This is not a “stealth” tent – there are numerous areas of minor light leakage: specifically, the tiny space between zippers and many tiny pinholes (especially along the velcro strip where the internal separator can be attached). It’s hard to notice during the day, but when the room is pitch black, each pin hole of light stick out like a sore thumb. This isn’t enough to impact plant day/night cycles, but the presence of the tent itself becomes obvious at night with room lights off.
If you use the “windows” to check in on your plants (covered by velcro doors), you’ll end up with light leaking past the velcro as well unless you spend time carefully placing the velcro each time to remove any gaps.
The duct holes have double sheathed ducts with the little pinch-clasp ties, which compared to single-sheathed ducts makes it easier to run cables or ducting (or simply be open to air) without too much light passing through.
With that said, if you need complete stealth (or plan to have the tent in a pitch-black movie room), your options are to either get some black silicone and start covering pinholes (then figure out the zipper), or to see if any of the premium tent manufacturers make a tent in this size.
Final Thoughts
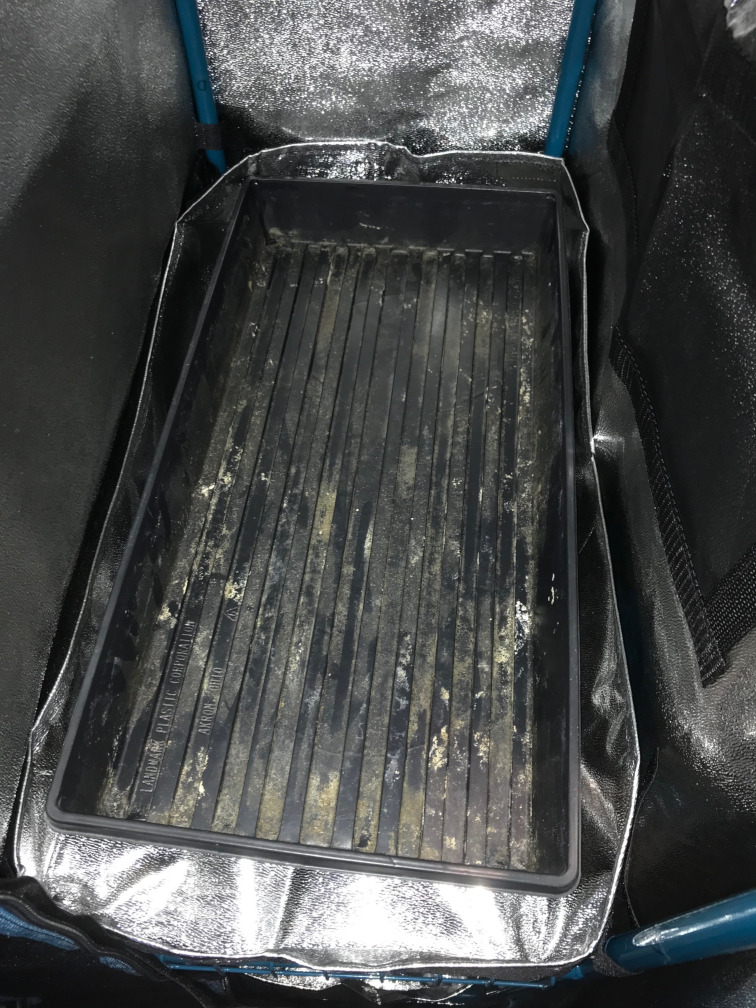
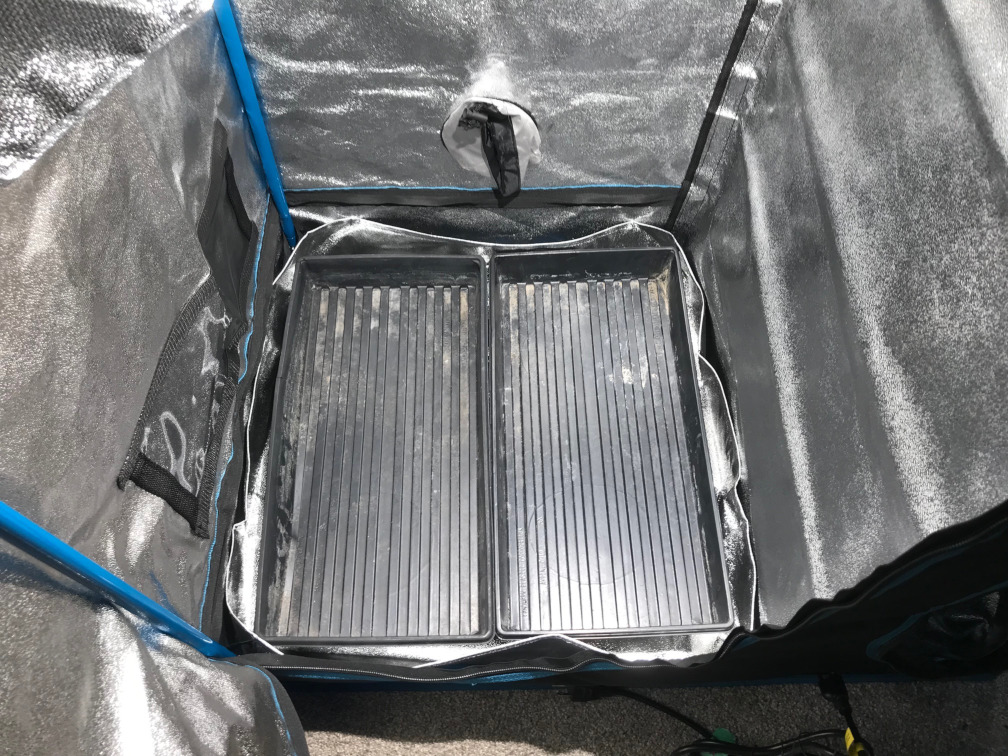
The tent met expectations. It’s a basic 3×2 foot tent that will hold 3-4 standard plant trays depending on whether the top-right shelf is installed (trays are generally 10″x20″).
The internal divider actually worked better at blocking light than I’d expected: being a removable piece which is attached by velcro, I was expecting it to be essentially useless. The fact that it actually mostly-works (minor corner leakage) was actually a bit of a nice surprise. Enough light is blocked that I’d have no concern using the right-side compartment for onions.
In terms of overall assembly and construction, everything fit together and nothing appeared to be overly cheap.
Overall, it’s a fairly decent cost-effective tent.