I’ve shucked quite a few Seagate external hard drives over time. I wrote about shucking the small 2.5″ portable, but realized I hadn’t covered any of the 3.5″ drives yet.
Normally I prefer the 2.5″ portable drives for their low power consumption. Unfortunately, sometimes a shortage of SATA ports combined with a need for high capacity means that 3.5″ drive becomes a necessity.
Enter the Seagate Backup Plus 10 TB STEL1000400:
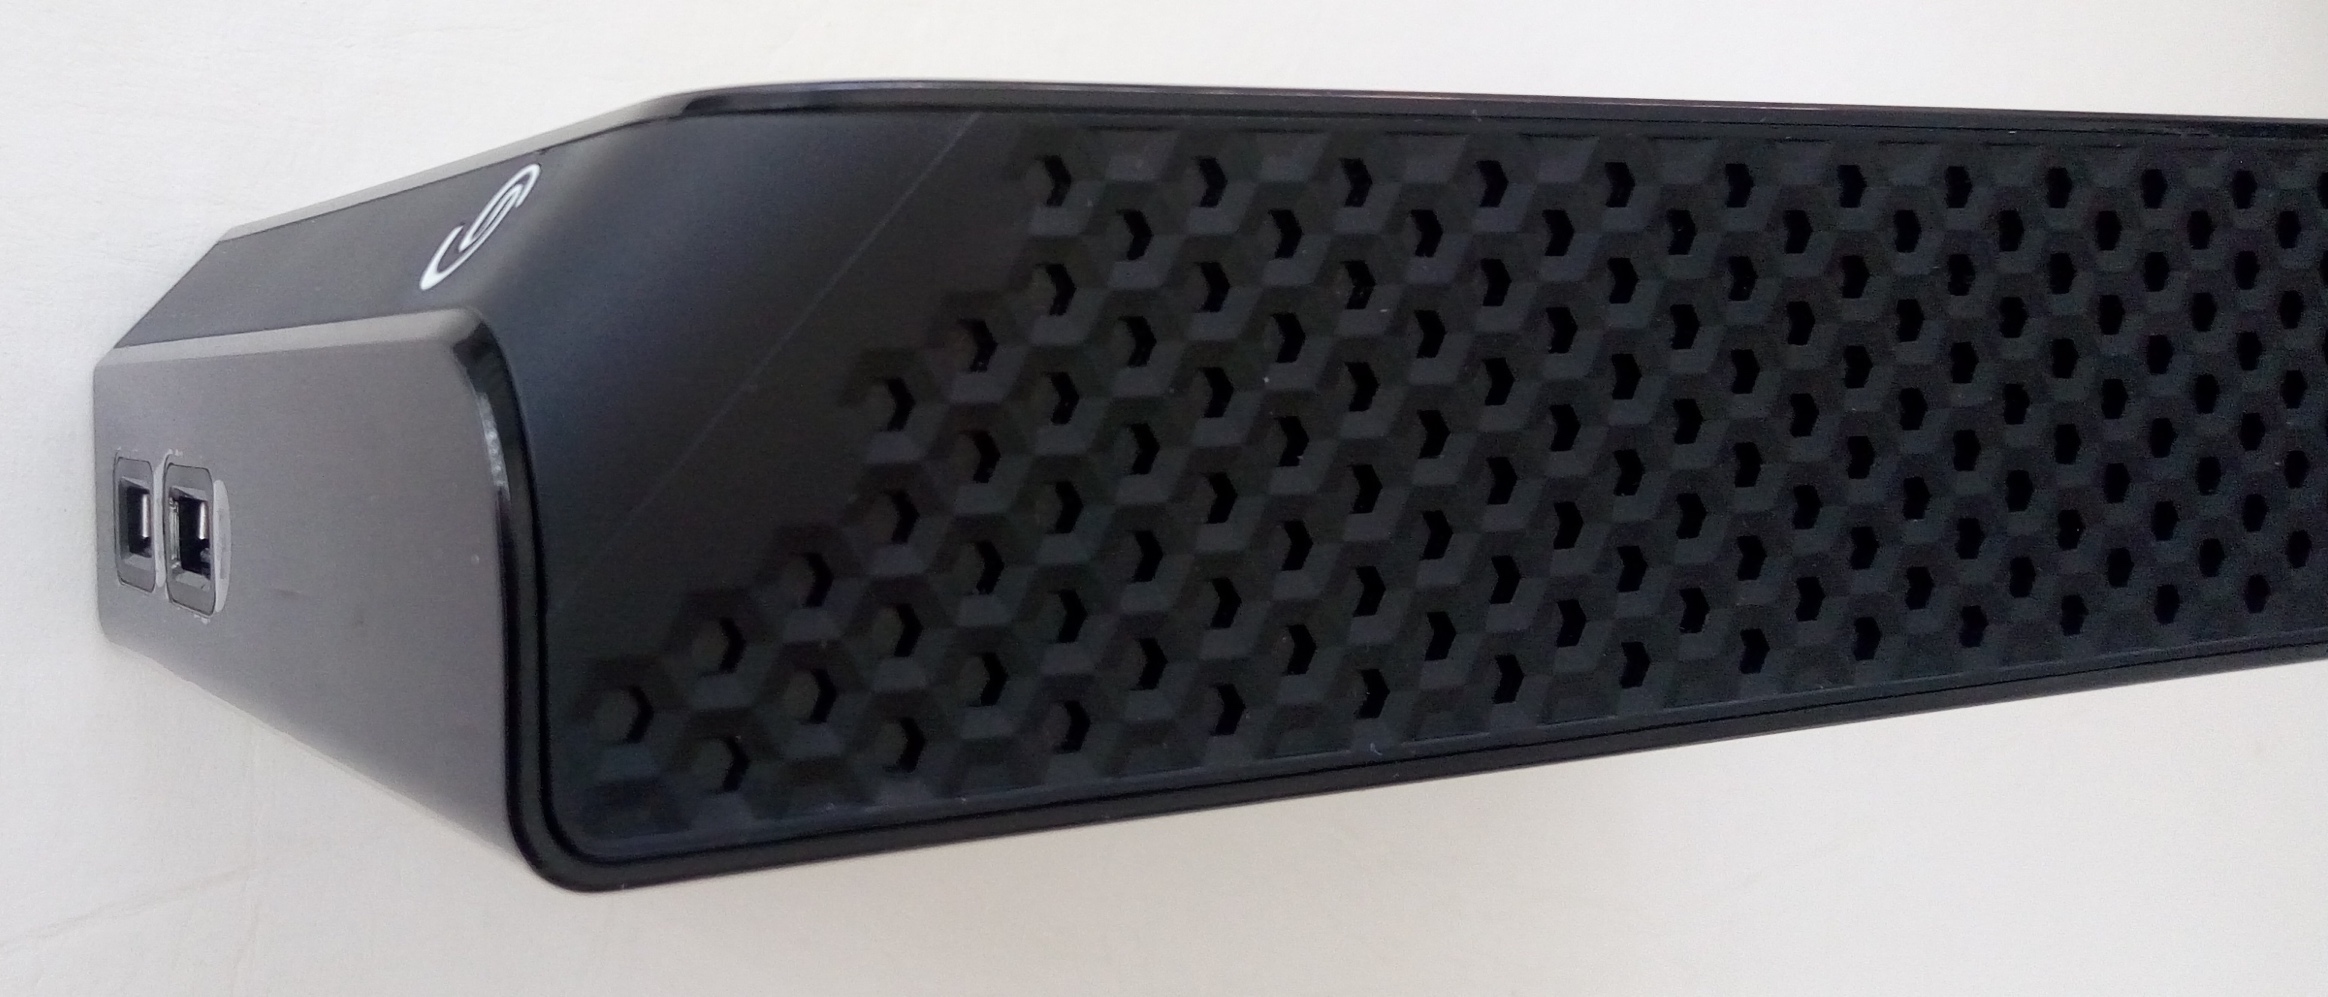
Depending on whether it’s flat or standing it can look different in various pictures. However, the 2 front USB ports and curved edge tend to give it away.
Disassembly
I generally try to re-use the enclosures that come with these things which means keeping the damage to a minimal level.
And trust me: using “whatever I have laying around” as a tool… it’s almost impossible to open these things without breaking some clips.
With that said, a forewarning: Obviously if the drive dies, there’s a high chance the case will visually be… not quite right. Depending on the retailers you deal with and the consumer laws in your jurisdiction, you may have a very hard time getting a replacement or warranty repair. If nothing else, at least test the thing before you go opening it up!
To minimize external damage, using a plastic item along the seams can help you gradually get inside.
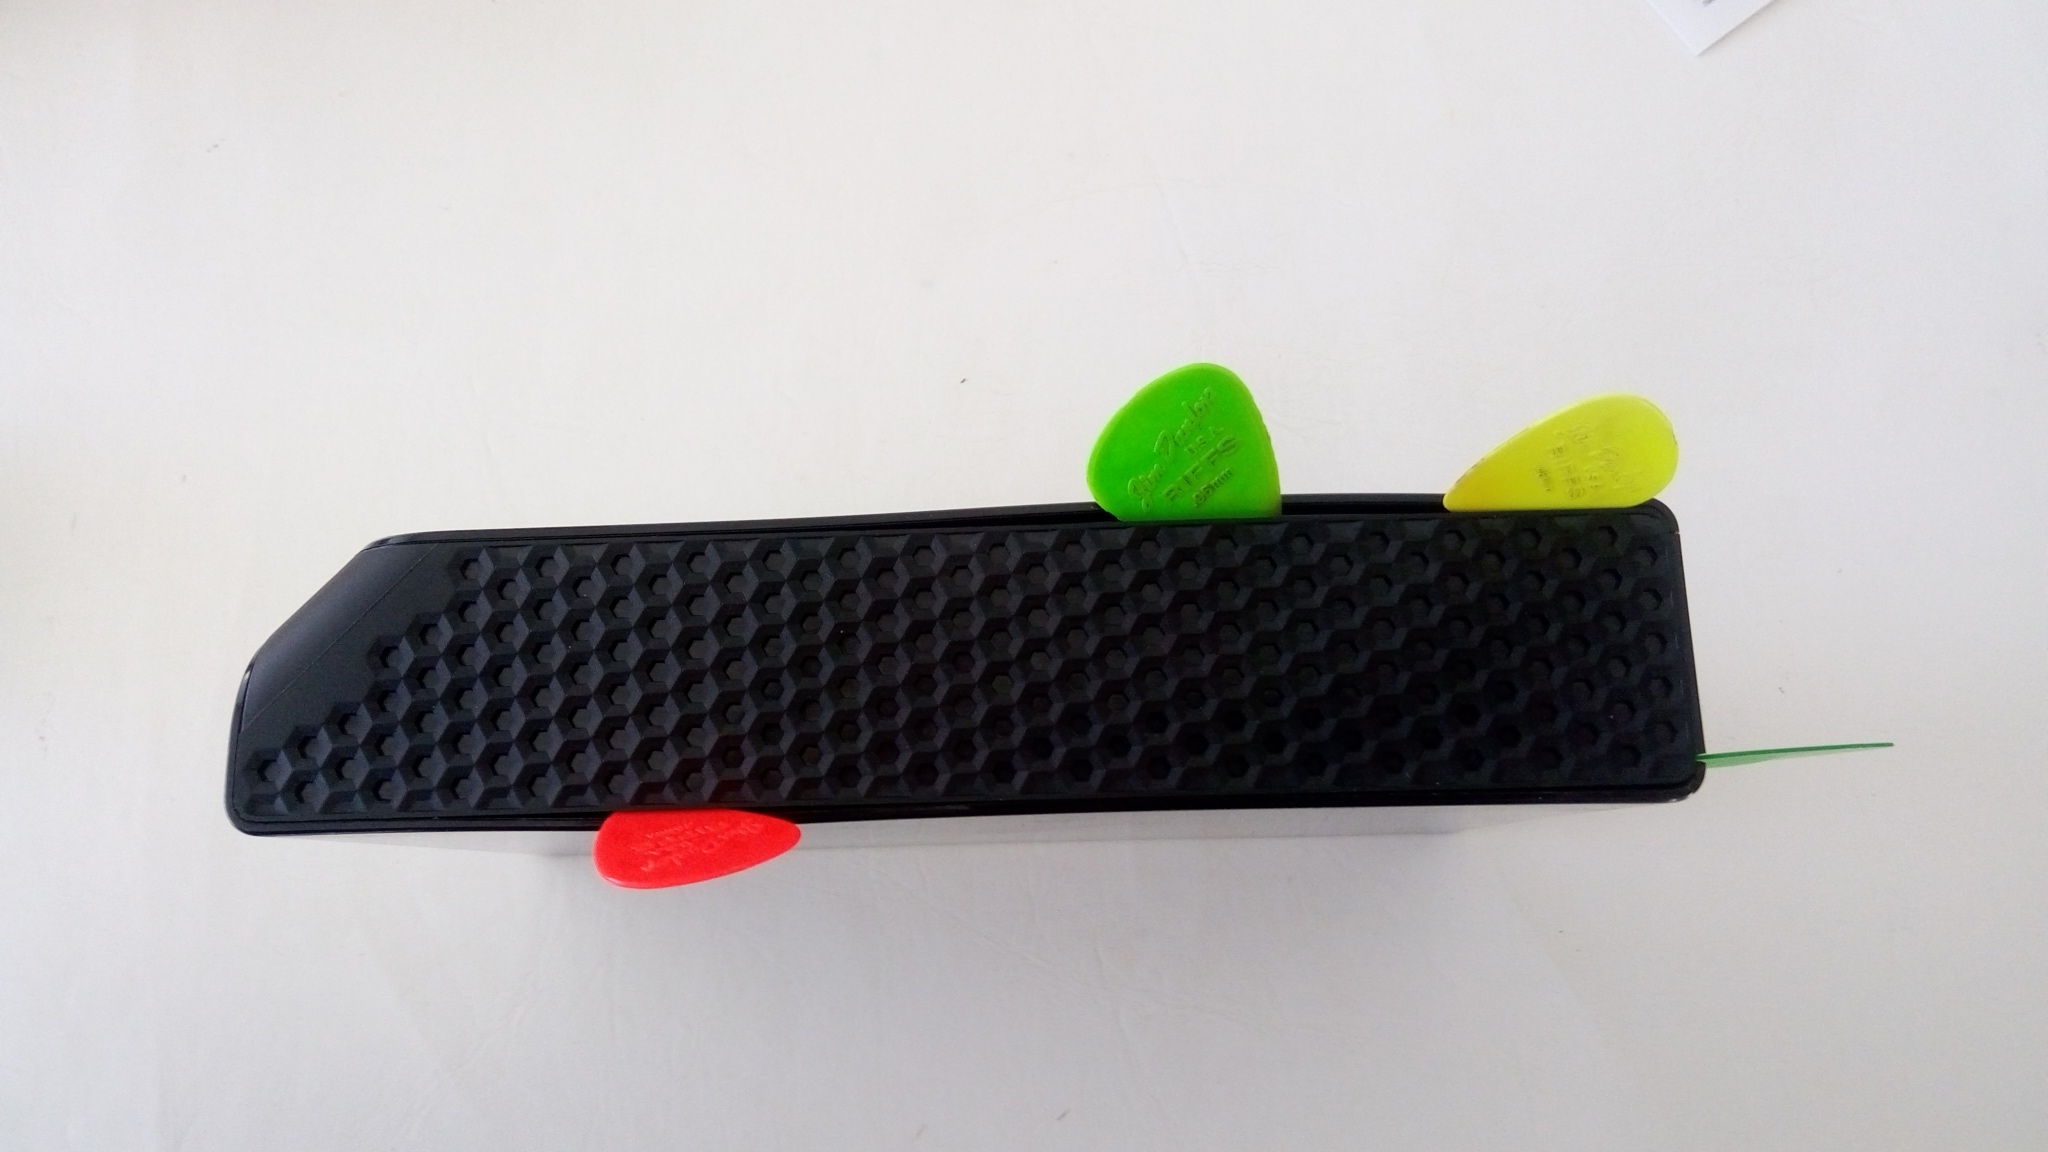
Above you’ll see I started with guitar picks inside the seams. Note that you only have to work at the bottom (where the orange pick is, NOT the green/yellow).
The plastic clips holding both the top and bottom on are permanent locking tabs. If you’re able to fish your plastic item down the side (which involves bending your prying item in an L-shape), you may be able to coax some of the tabs free.
After a while I got impatient and decided to convert my disassembly method from “gently working away at it” to “brute force with a thick plastic stirring knife”.
Many tabs perished.
Again, look closely at the picture above. This is the top which you do not have to remove. The side-screws and grommets connected to the drive prevent it from coming out the top, as the case is molded so that they can only come out the bottom.
Of course, now that I can access the inside tabs, you’d think I would gently pry them open to save all those bottom tabs, right?
Nope.
I actually did try to save a few of the tabs. “Try” being the operative word.
A few notes:
- I found it easiest to begin at the sides, then work my way to the rear. The rear is really tight and it’s hard to get a tool in to pry.
- When prying the bottom panel at the rear, ensure that the power and cable-SATA ports don’t catch on the enclosure. It was a non-issue for me, but it could have been due to my prying method.
- For the bottom panel, if you look at the drive you’ll notice it “wraps around” the front a bit. This means you’ll have to disconnect the rear and sides first, then treat the front as a “hinge”.
After continuing along until both sides/rear were free and then forcing the front to “hinge” to the point where I thought it might snap… the internal front clips finally gave and the drive was free.

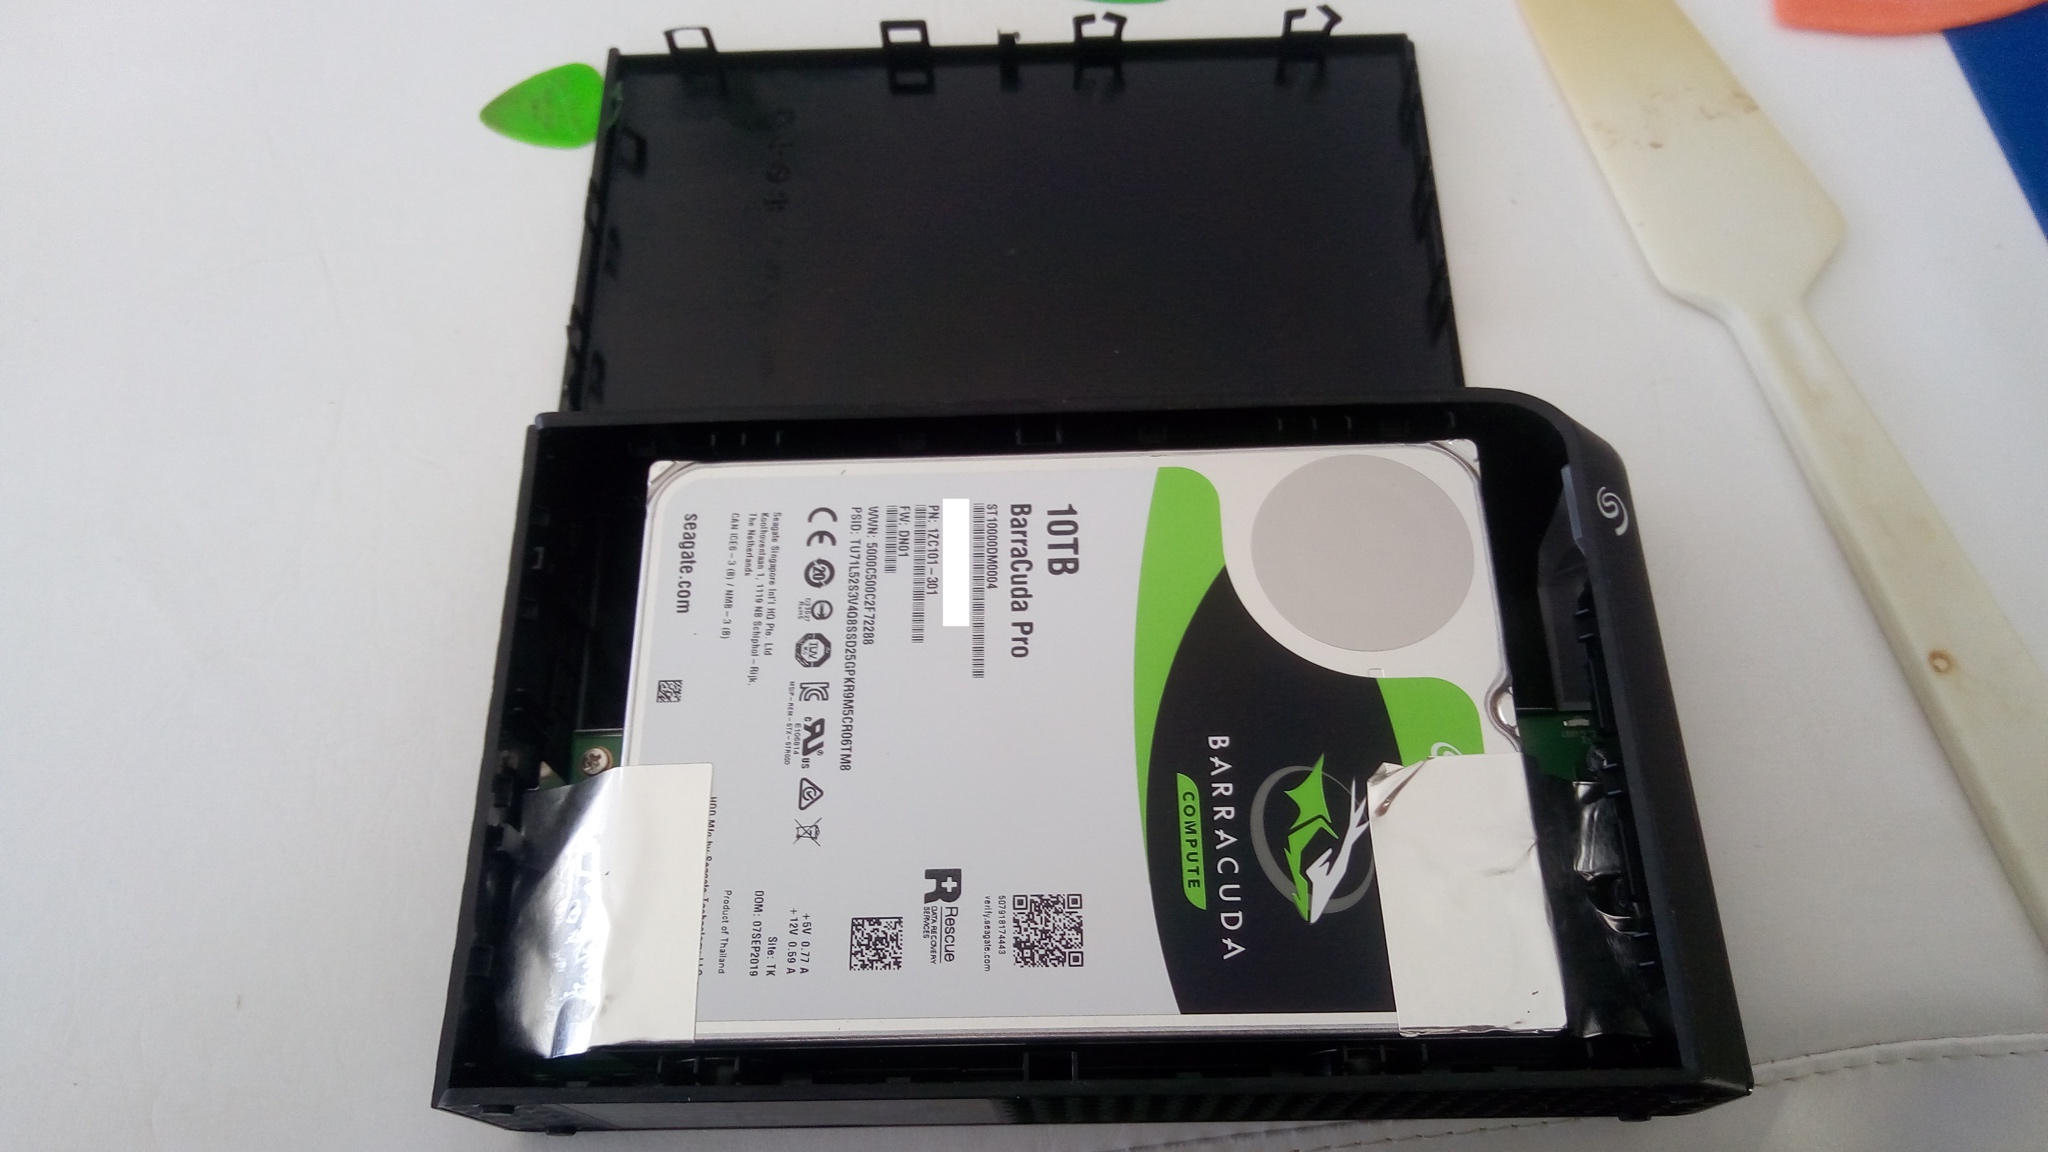
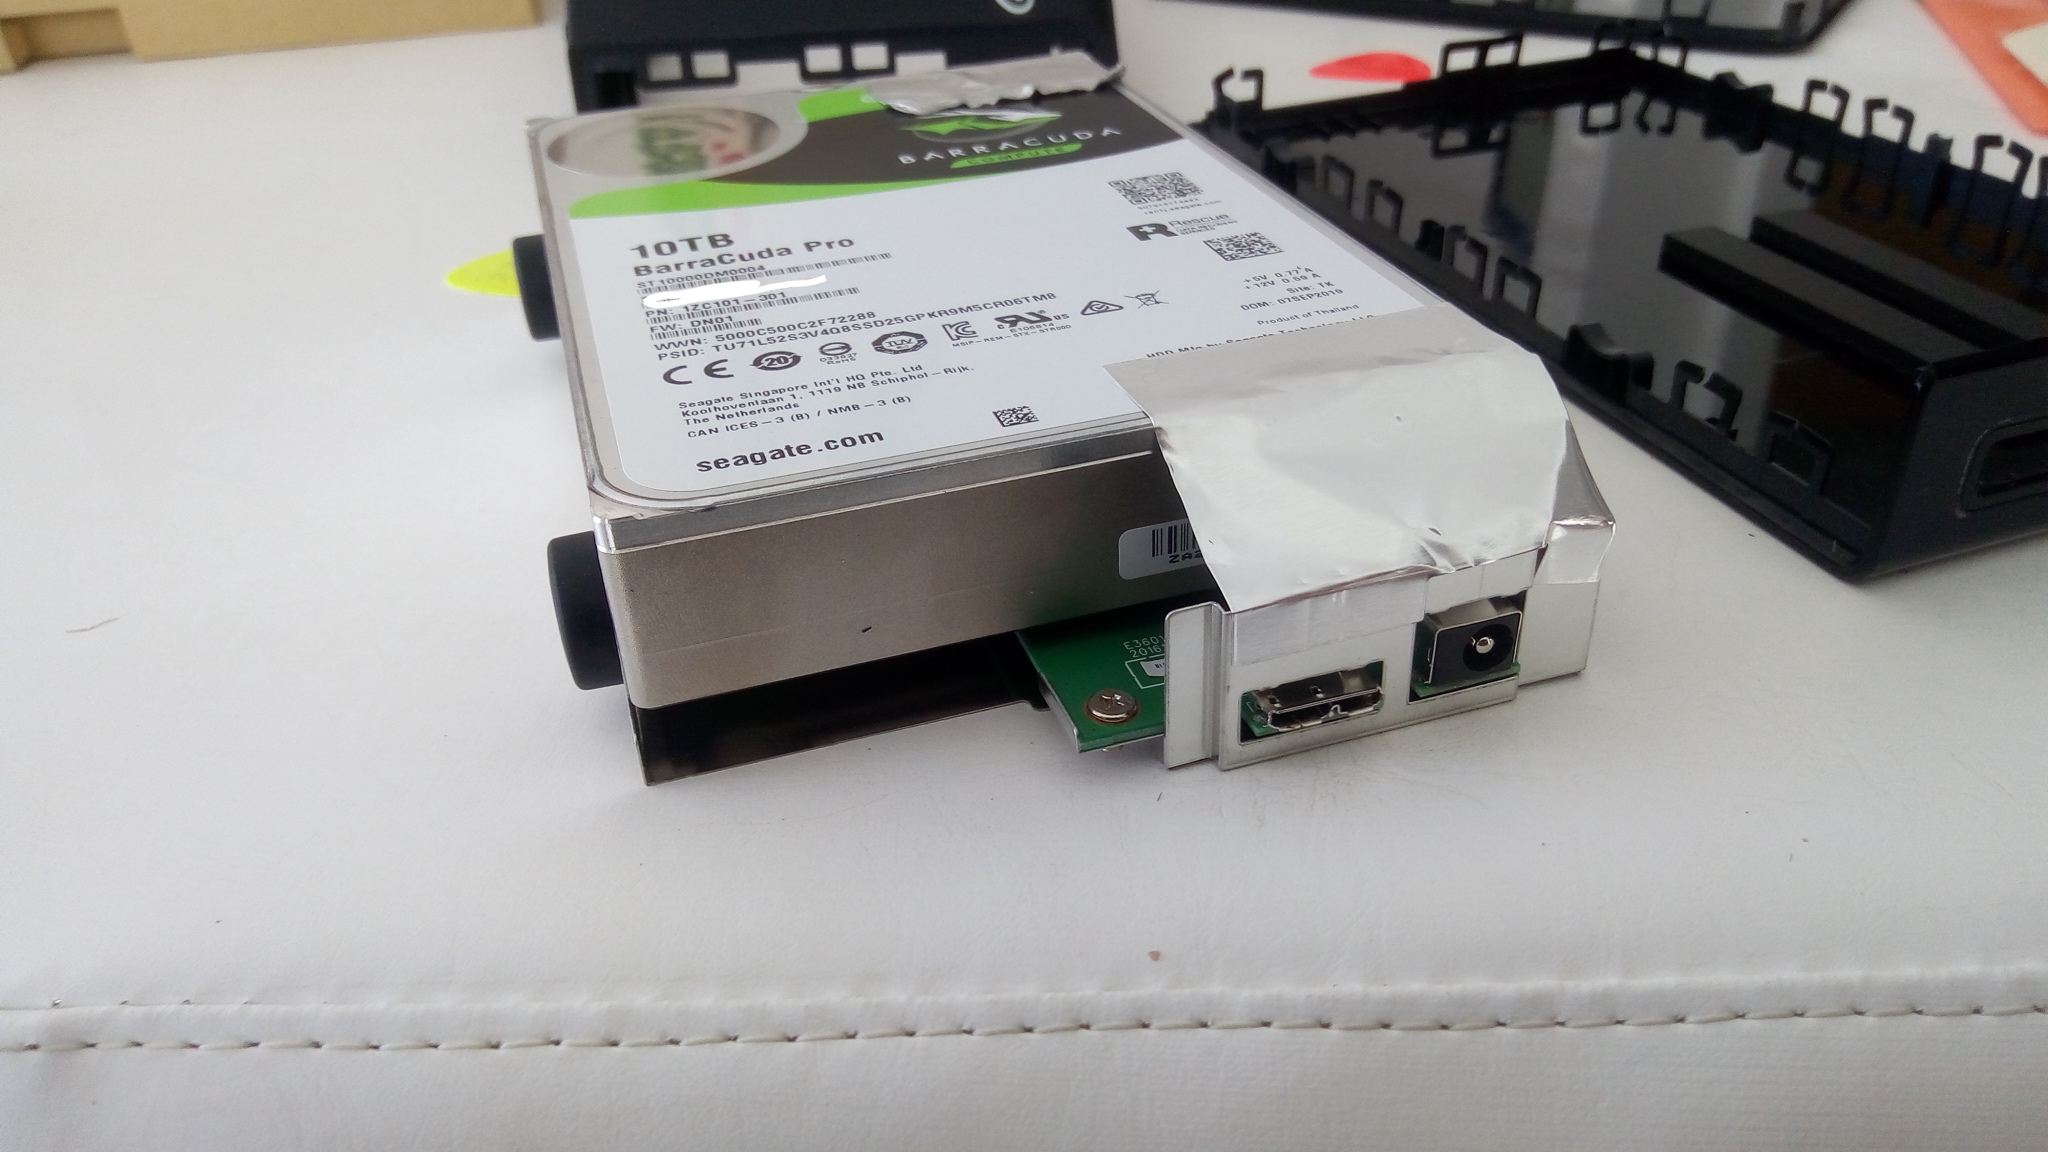
Above, you’ll see the metal plate protecting the circuit board the drive is connected to.
At this point, the drive lifts right out: rather than trying to lift by the PCB, the safe way to remove it is probably to put a hand on either side, flip it upside down so that the bottom hand is supporting the metal plate attached to the drive, and then gently lift the cover off the drive with your other hand.
A couple shots of the drive removed:
Note the grommets attached to the drive screws (above).
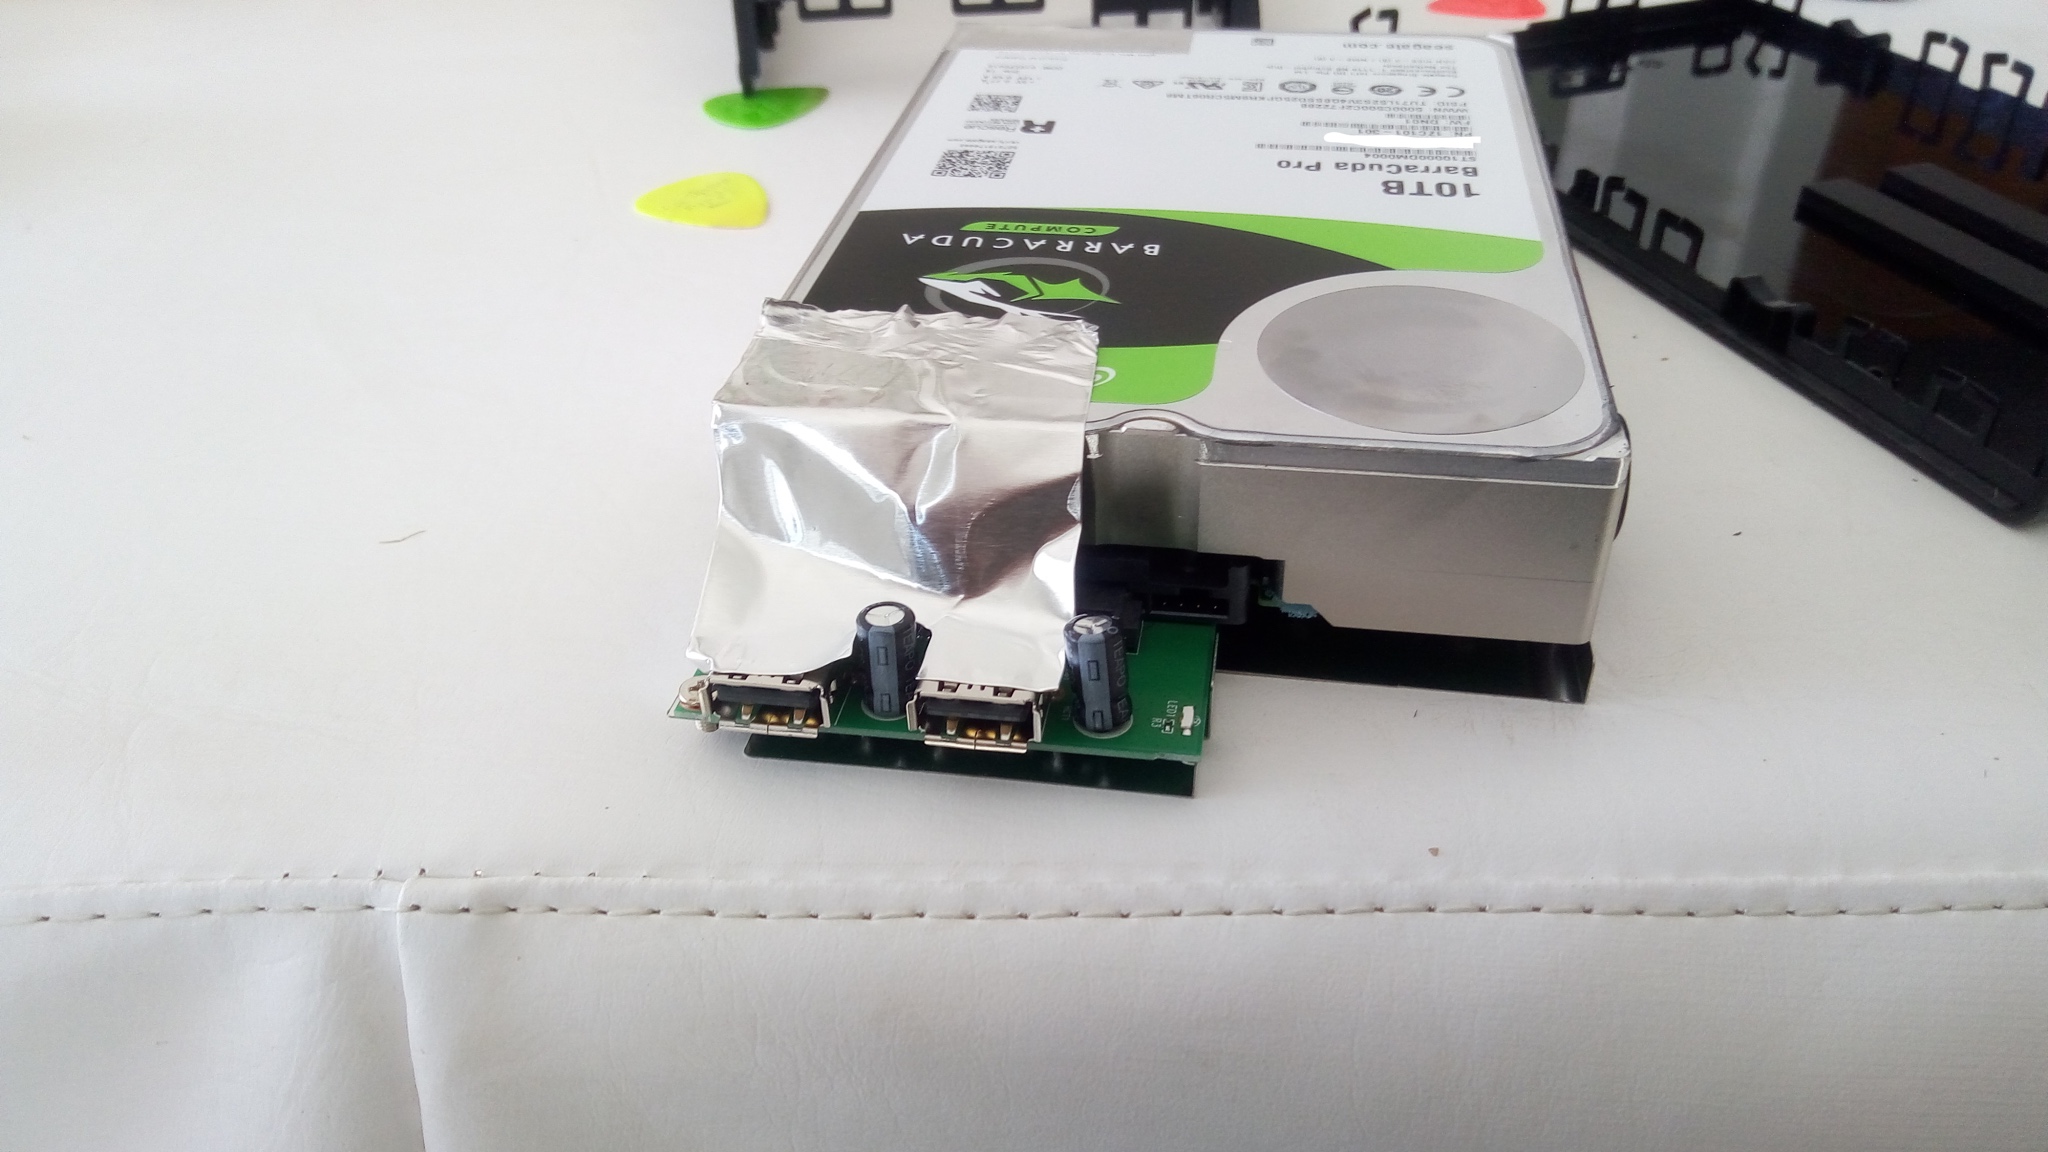
You’ll notice that the foil is connecting the drive to the circuit board. You’ll have to peel the foil off of the drive.
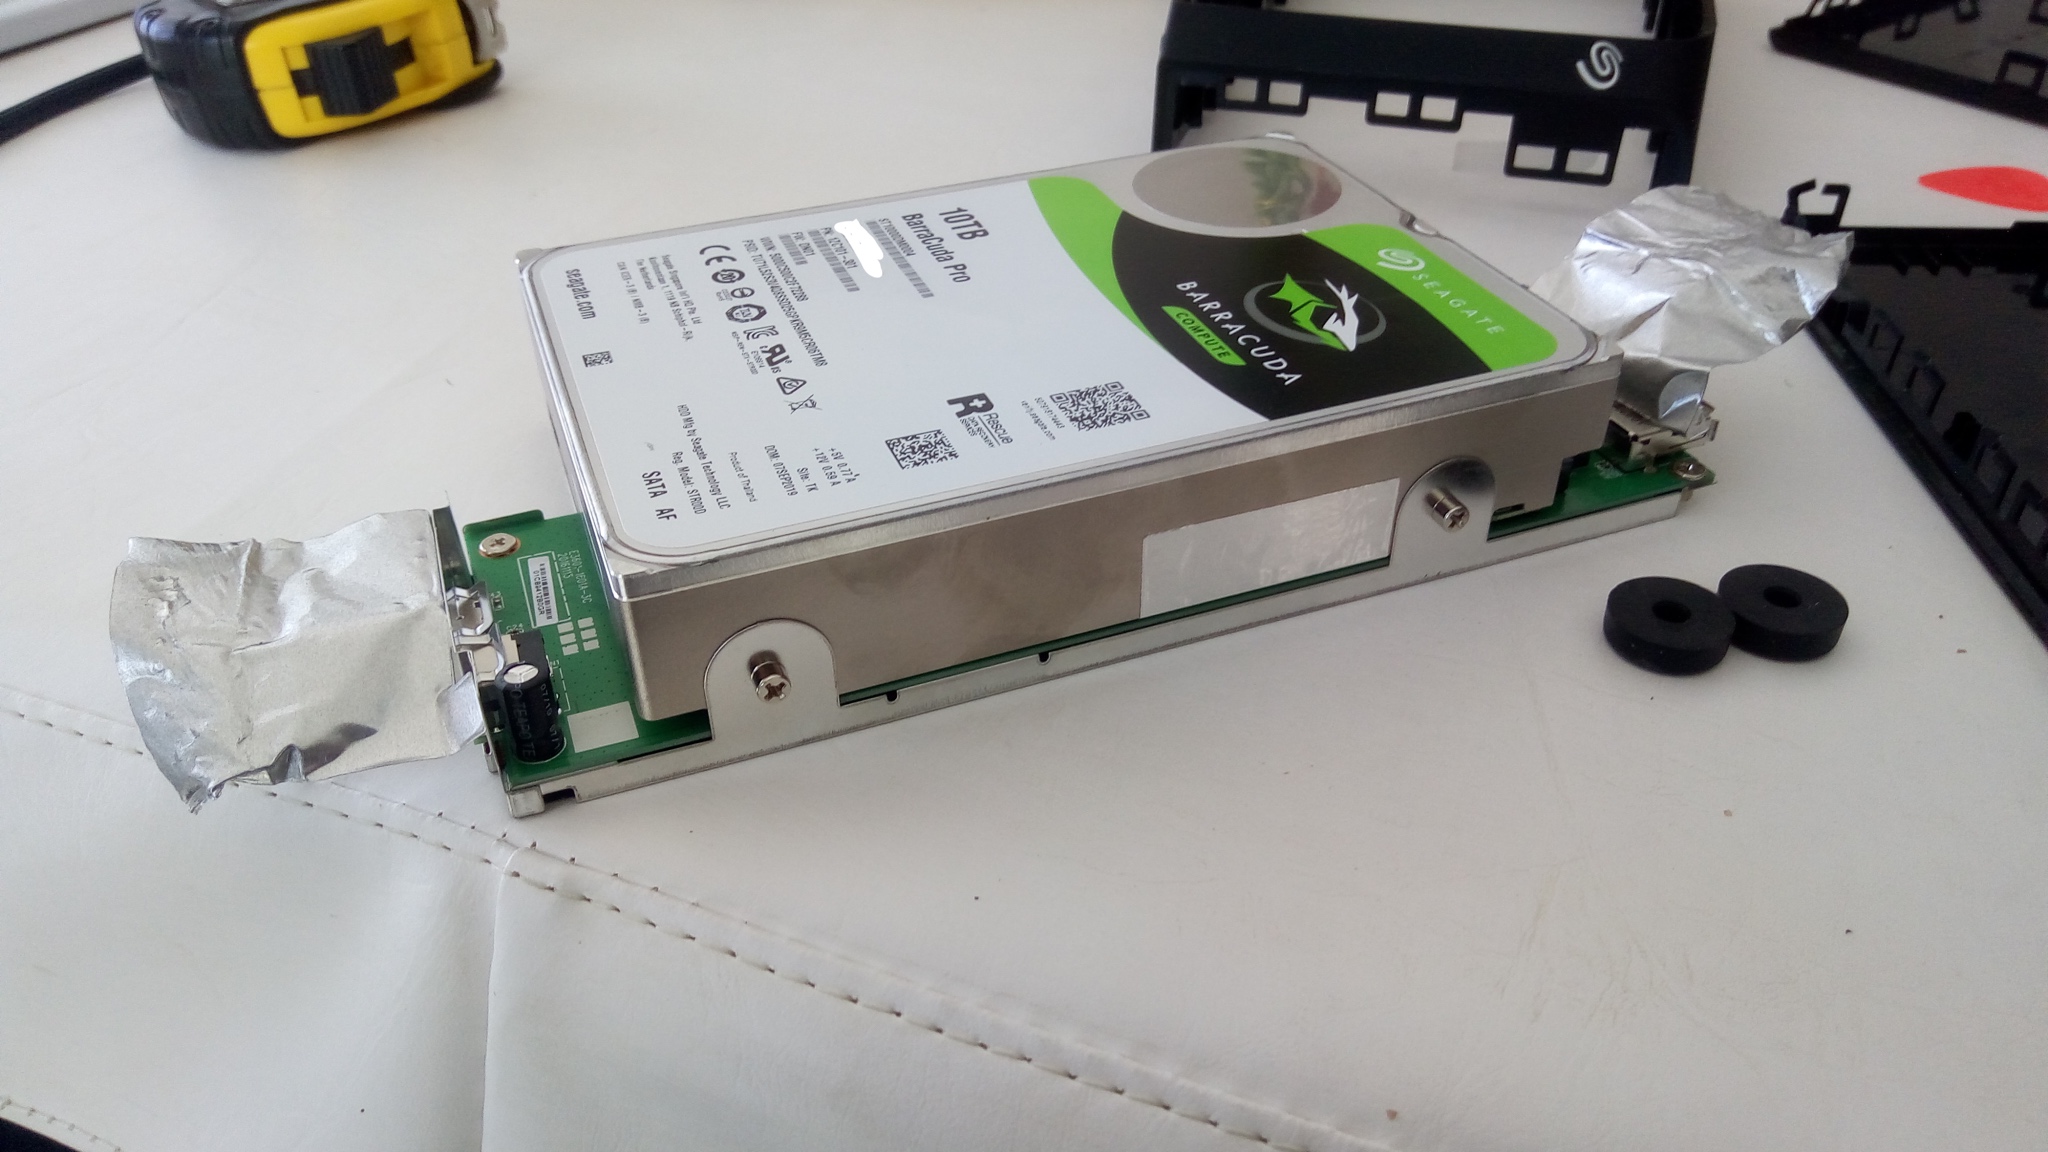
With the foil peeled back, grommets and screws are removed from each side. A standard phillips (star) screwdriver gets the screws off.
I personally held the drive in place as I removed the screws as I wasn’t sure if it would “flex” down toward the circuit board and damage the connector. I don’t think you *have* to do this, but you may want to consider doing it to be on the safe side.
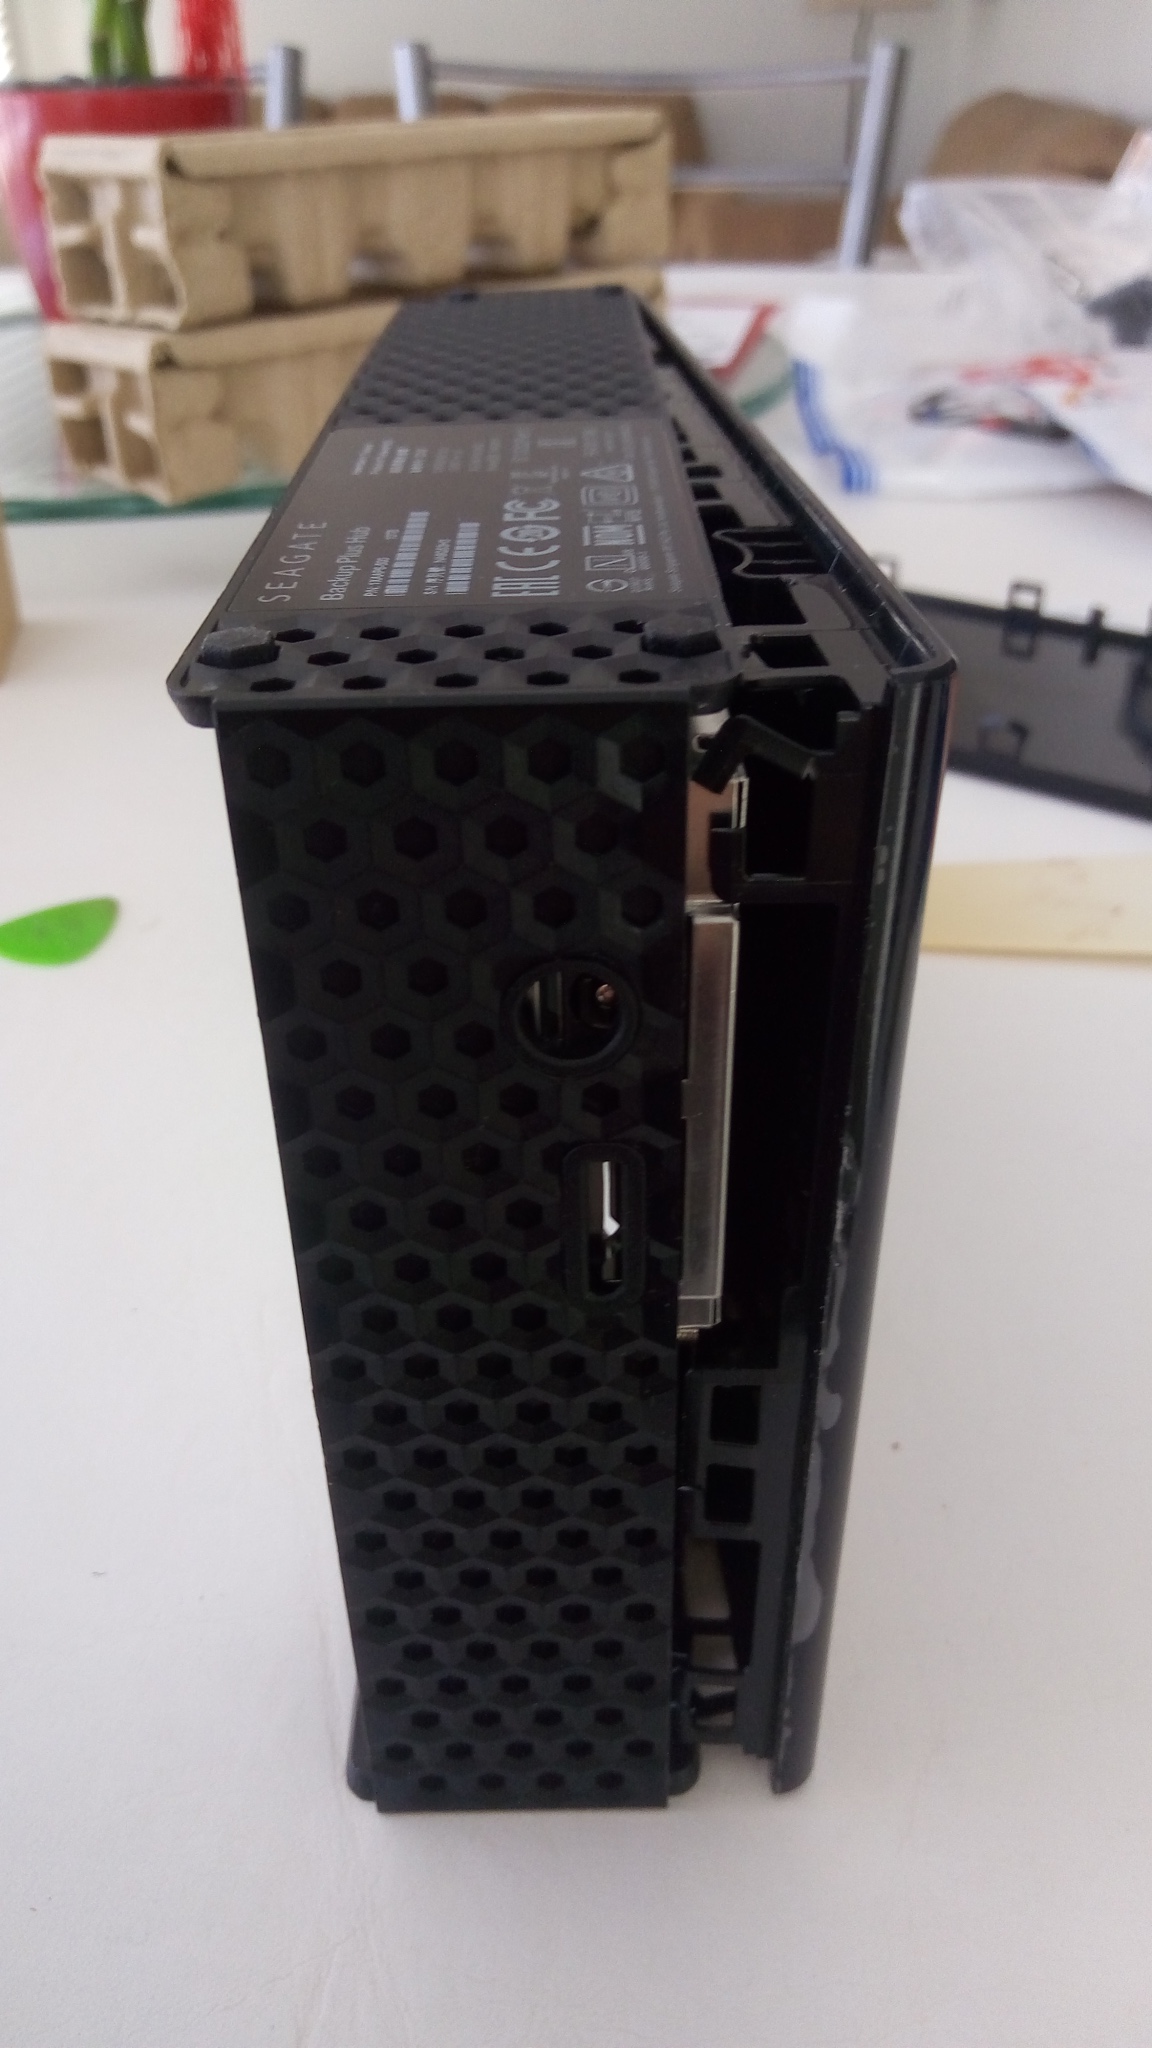
NOT SHOWN: You have to carefully slide the drive out of the SATA power and data port on the circuit board.
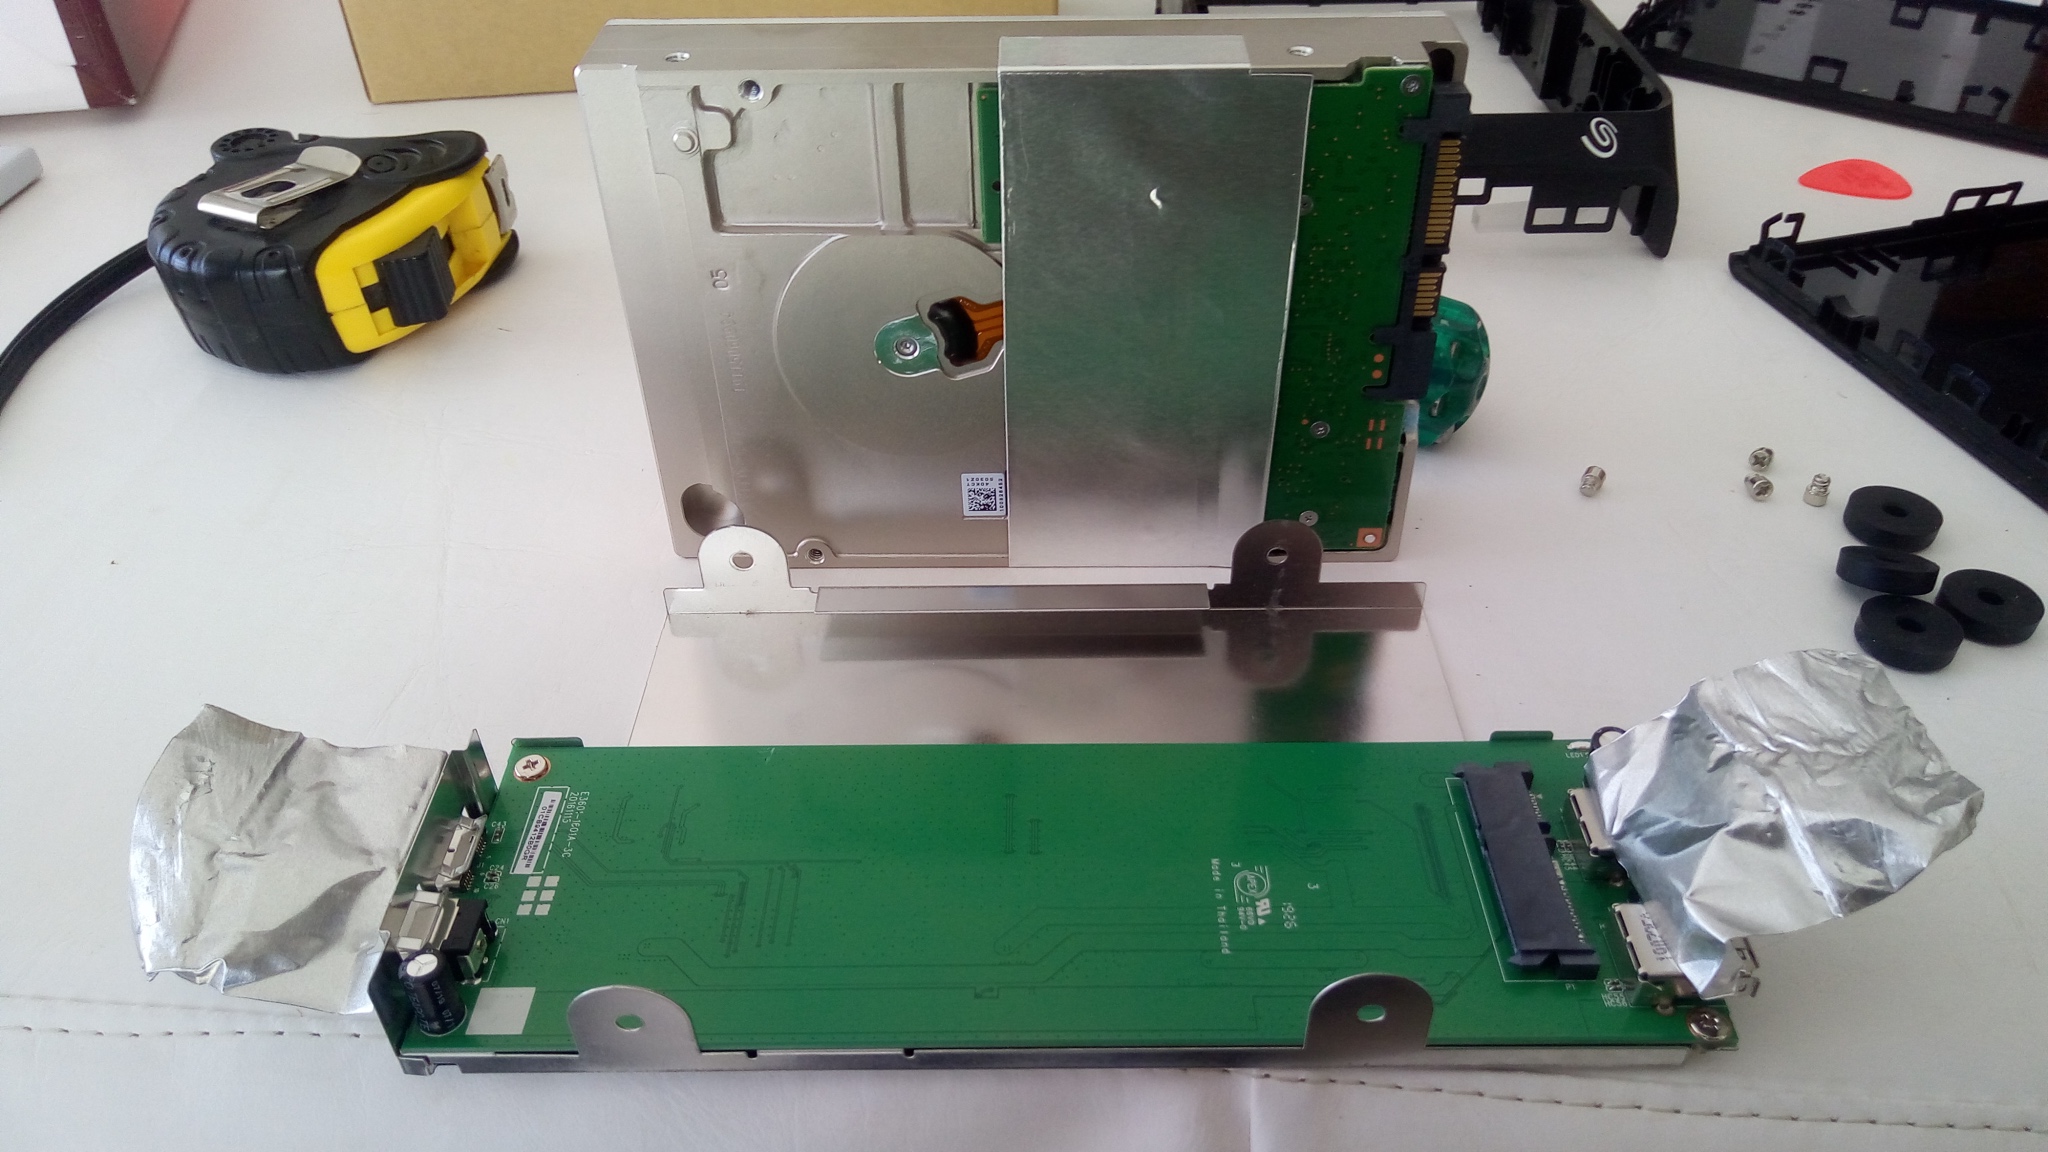
Above is a look at the circuit board (the drive is in the background. You can see the SATA ports I mentioned just a moment ago.
Finally, a look at the drive label itself:
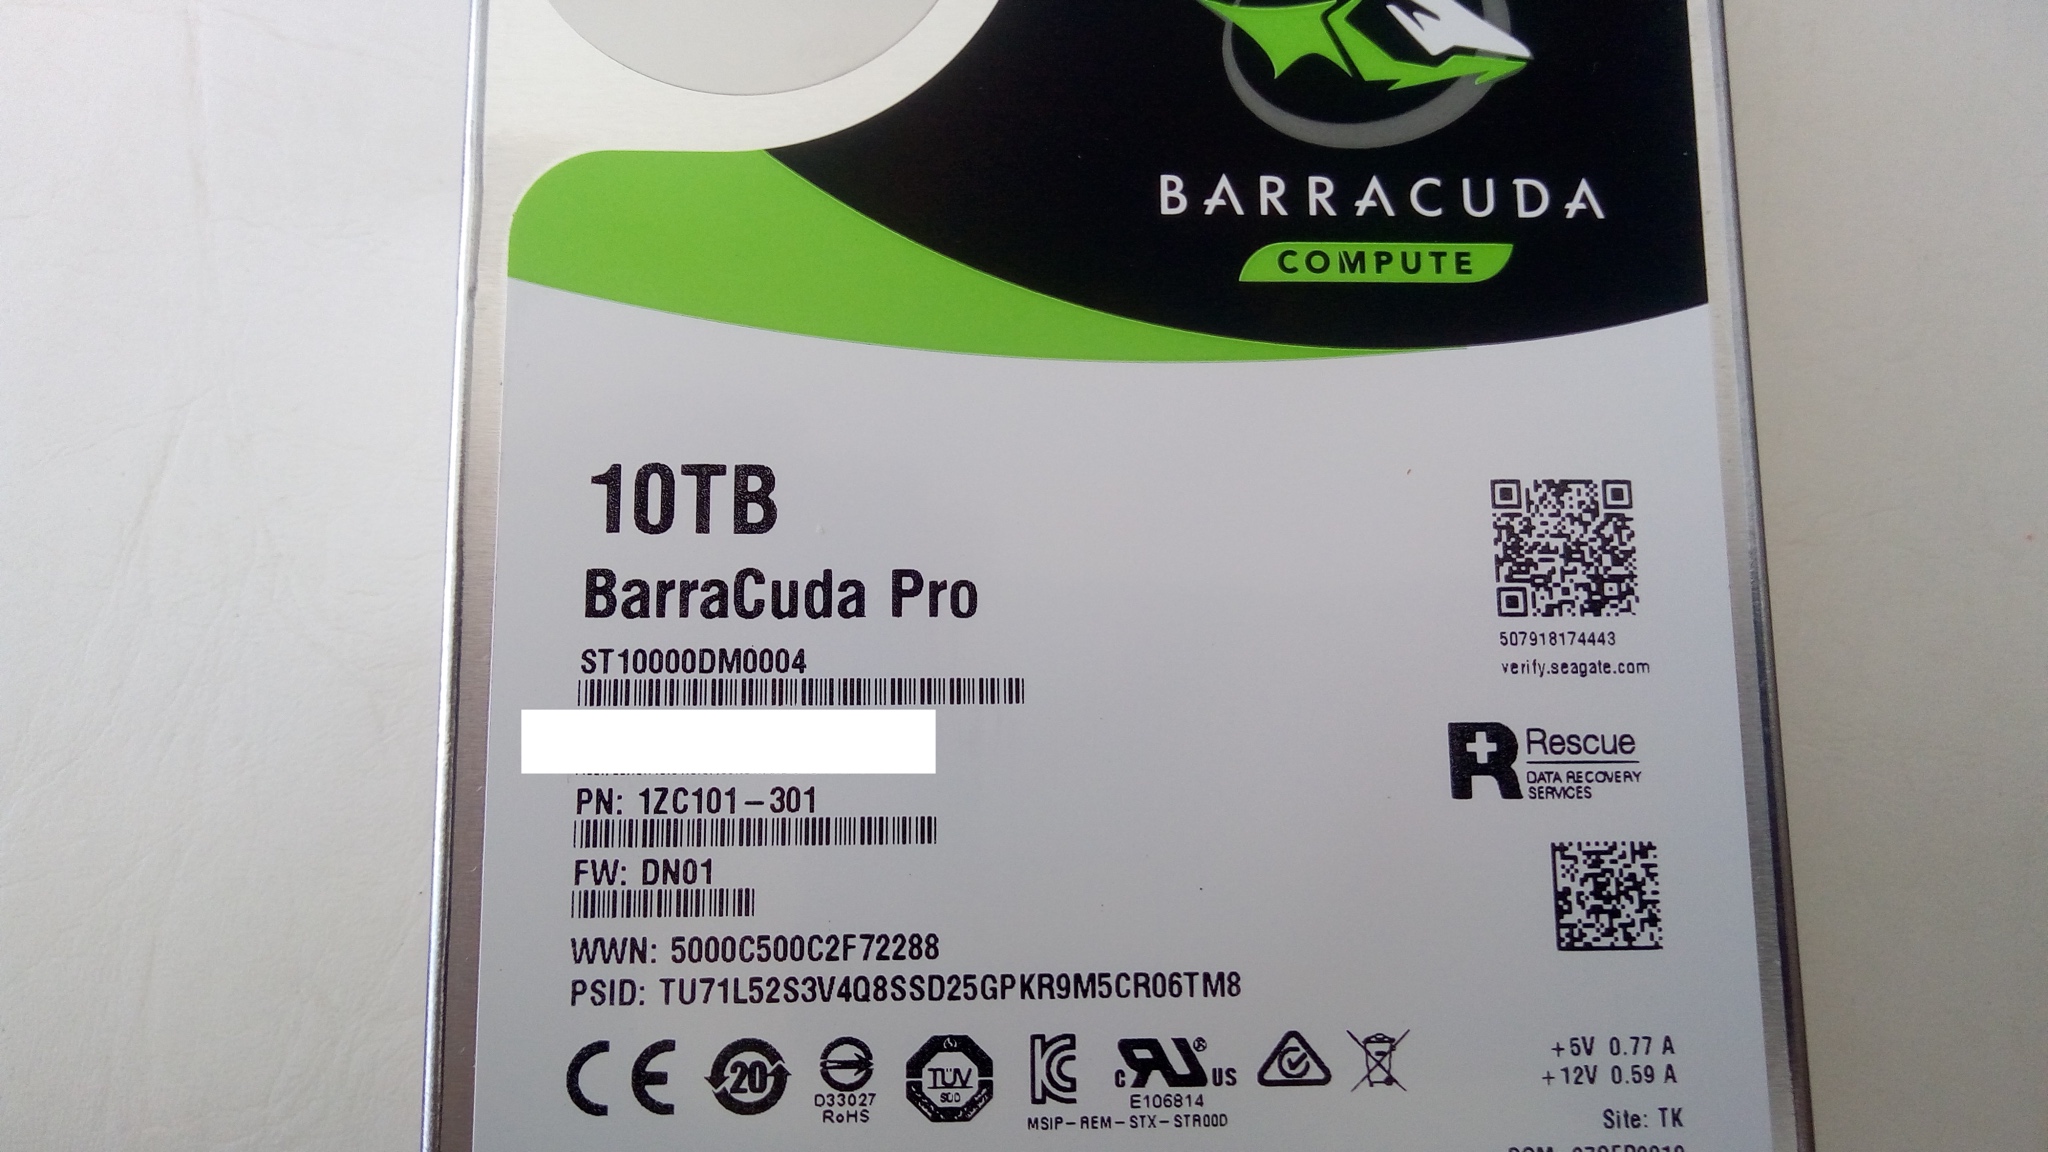
As you can see, it’s a 10TB BarraCuda Pro ST10000DM0004 3.5″ hard drive. According to the datasheets (which can’t always be trusted in Seagate’s case…), it’s not supposed to be an SMR drive. I’m not subjecting it to a workload where I’m likely to be able to tell either way, mind you.
Power Consumption tidbits
The data sheet claims 7.8W operating, 4.42W idle, and 0.80W standby/sleep.
Compare that to the 2.5″ drives which tend to be around 2W/1W/0.2W and in terms of power consumption you could fit about 4 of the Seagate 2.5″ portable 5TB drives inside that power envelope. While this drive is supposedly non-SMR and 7200RPM, I wouldn’t be surprised if 4 of the Seagate 2.5″ SMR drives in RAID-0 would outperform this one most of the time. That said…. 4 SATA ports vs 1 SATA port… power of additional controllers (~2W for a 4-port Marvel IIRC)… there are certainly a number of items to consider when weighing multiple 2.5″ drives vs a single 3.5″.
As for power consumption of the unit before it was disassembled, I did test it briefly and here were the numbers:
- 18W spinup
- 8W idle
- 5W standby
- 2W ejected (unmounted – power light still on)
- 0W unplugged (possible you’d get the same with “safely remove device”)
I defined “idle” as spinning without me reading/writing anything to the drive, and “standby” as being when it kicked into a lower power mode after what seemed to have been a couple minutes of inactivity. I didn’t leave it running for huge lengths of time, so don’t know if it would have dropped below 5W on it’s own at some point without intervention.
The power adapter is rated at ~36W (3A12V), so definitely sufficient to cover the initial spin-up power with a hefty chunk of margin to spare. Of course if you power other devices from the front USB ports, that margin could potentially disappear.
Overall Thoughts
So far, this unit has been the toughest of the Seagate externals to shuck that I’ve done. That said, I won’t complain too much: so far Seagate has kept all their externals shuckable (both portable and desktop), they remain cheaper than the standalone drives, and I get a free enclosure each time (a $15-30 value!) that I can put an old drive in.
If I didn’t want to save the enclosure (just the drive), a flat screwdriver and some brute force would have that drive out in a jiffy.
As for the drive itself, time will tell. It finally finished a SMART pass and will make its way into regular usage soon.
I've done shucking the others 8TB drives but wasn't satisfied with the internal drives they had.
The 2020 had a IronWolf Pro The 2021 had a Barracuda Pro. No other difference in the labels or part numbers, other than serial number and date.
As of today, could anyone tell me what hard drive it has?
The models with less tb, work at 5400rpm, and I would be interested in working at 7200rpm.
Thanks for all the information you have provided. Very valuable, no doubt.